
How to Make Wire Flowers that Last Forever

While nothing is better than having fresh cut flowers in your home, sometimes you need an evergreen option to fill your favorite vase when you are between bouquets! Wire flowers are a versatile and budget-friendly project, perfect for the creatively-inclined. While we are huge proponents of fresh flowers as décor, we have also been known to think beyond the bloom and incorporate non-floral elements into our designs. Get ready to get your hands a little dirty, strengthen your forearms, and create some floral magic with us!
Materials for Wire Flowers:
-Wire of your choice*
-Variety of pliers
-Wire cutters
-Vase or vessel
-Thin dowel rod or tapered paintbrush
-Metal file
*For wire, we are using 16 gauge steel ‘rebar tie wire’ that can be found at any hardware store for about $9! It takes a little muscle to bend, but it keeps its shape nicely once finished and has a sleek black finish. Because it is designed for being twisted and re-twisted without losing strength, it’s a great option!

STEP ONE: Choose Your Flower and Study It!
Choose Your Flower and Gather Images
Choose a flower and find reference images from several angles, if you have fresh flowers to use as a live model, that’s even better! Look at enough images and diagrams of your chosen flower to understand the basic structure and then choose one or two photos to focus on while you sculpt.
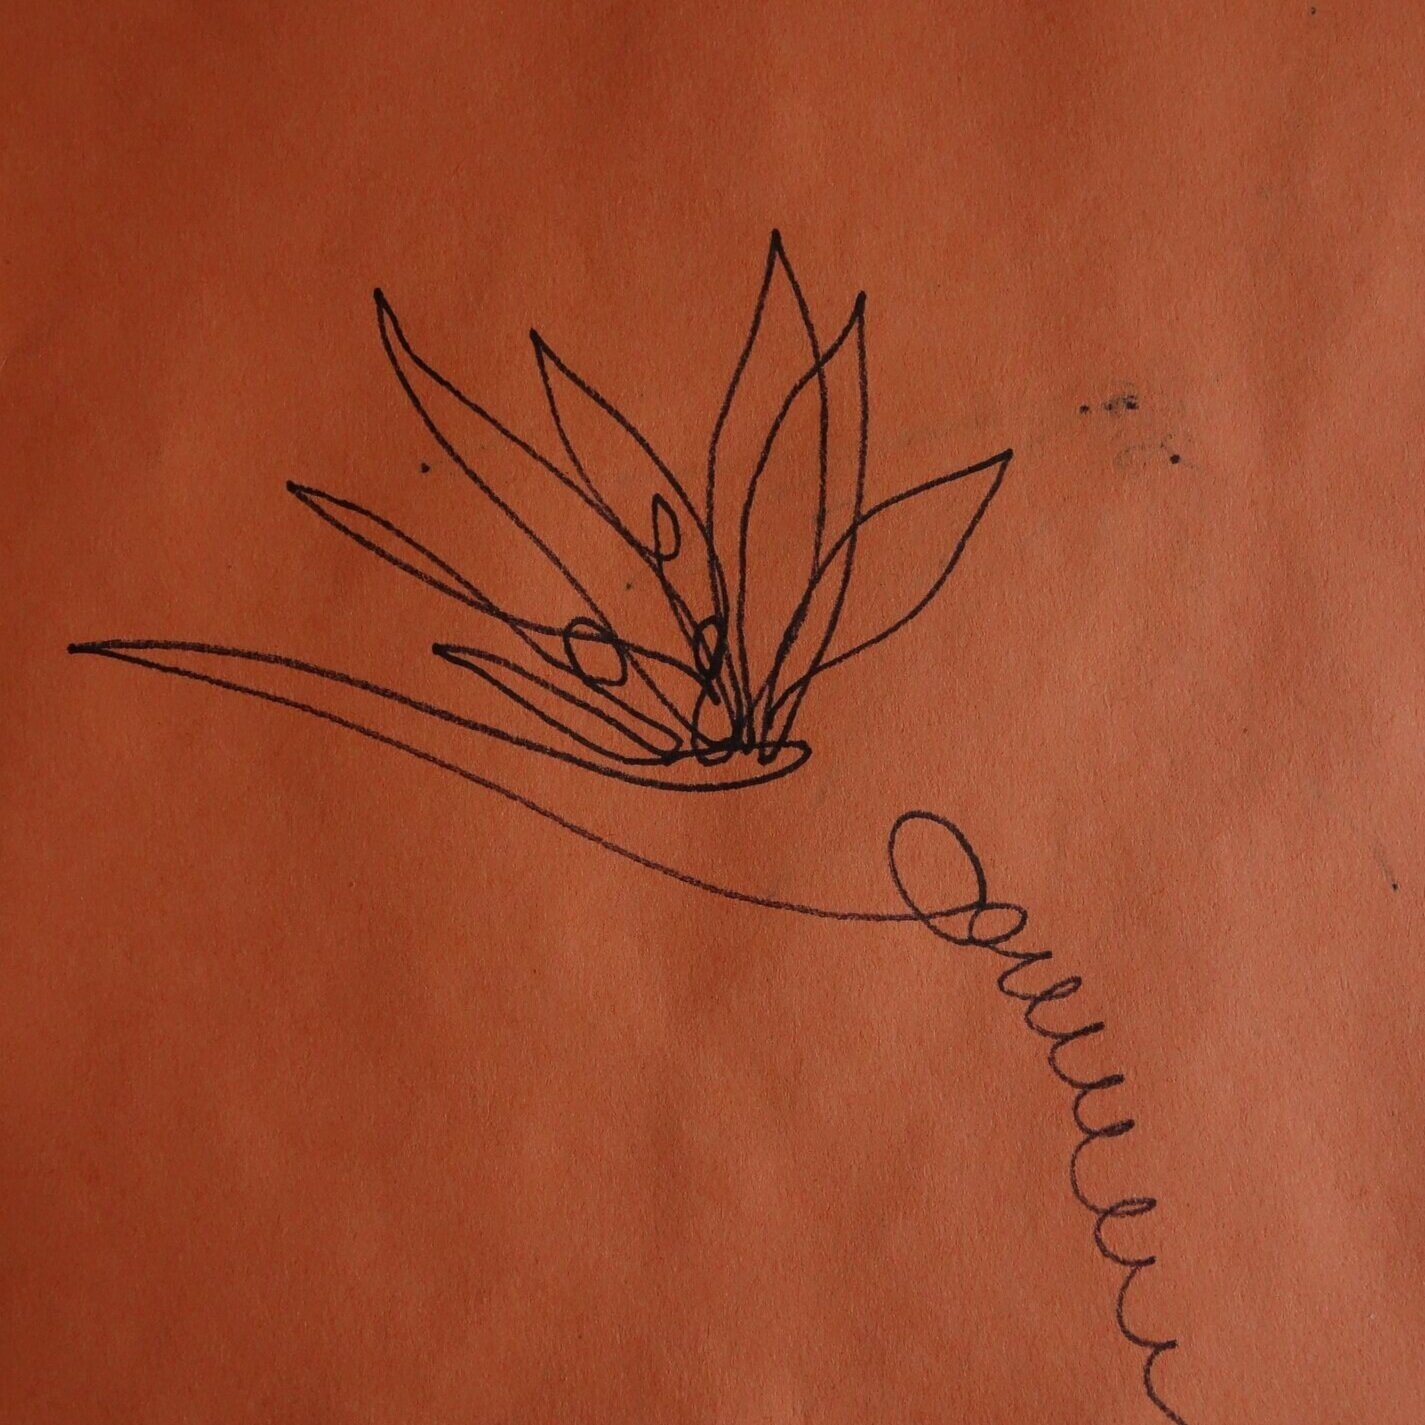
Sketch Your Flower for an Enhanced Understanding of the Angles
If you’re artistically-inclined, consider sketching out your flower in one continuous line so you can begin to understand how each separate flower part will be formed while working with one continuous piece of wire.

Choose a Wire-friendly Flower
Because of the nature of the wire, we recommend avoiding petal-heavy blooms such as hydrangea, roses, and peonies and aiming for flowers with a more structural form. Here’s a list of a few that lend themselves to this technique!
-Iris
-Orchid
-Bird of paradise*
-Tulip
-Lily
-Daffodil
-Calla Lily
-Heliconia
-Gloriosa
* For this tutorial, we’ve chosen Bird of paradise as our flower.
STEP TWO: Prep Your Wire and Choose Your Vase
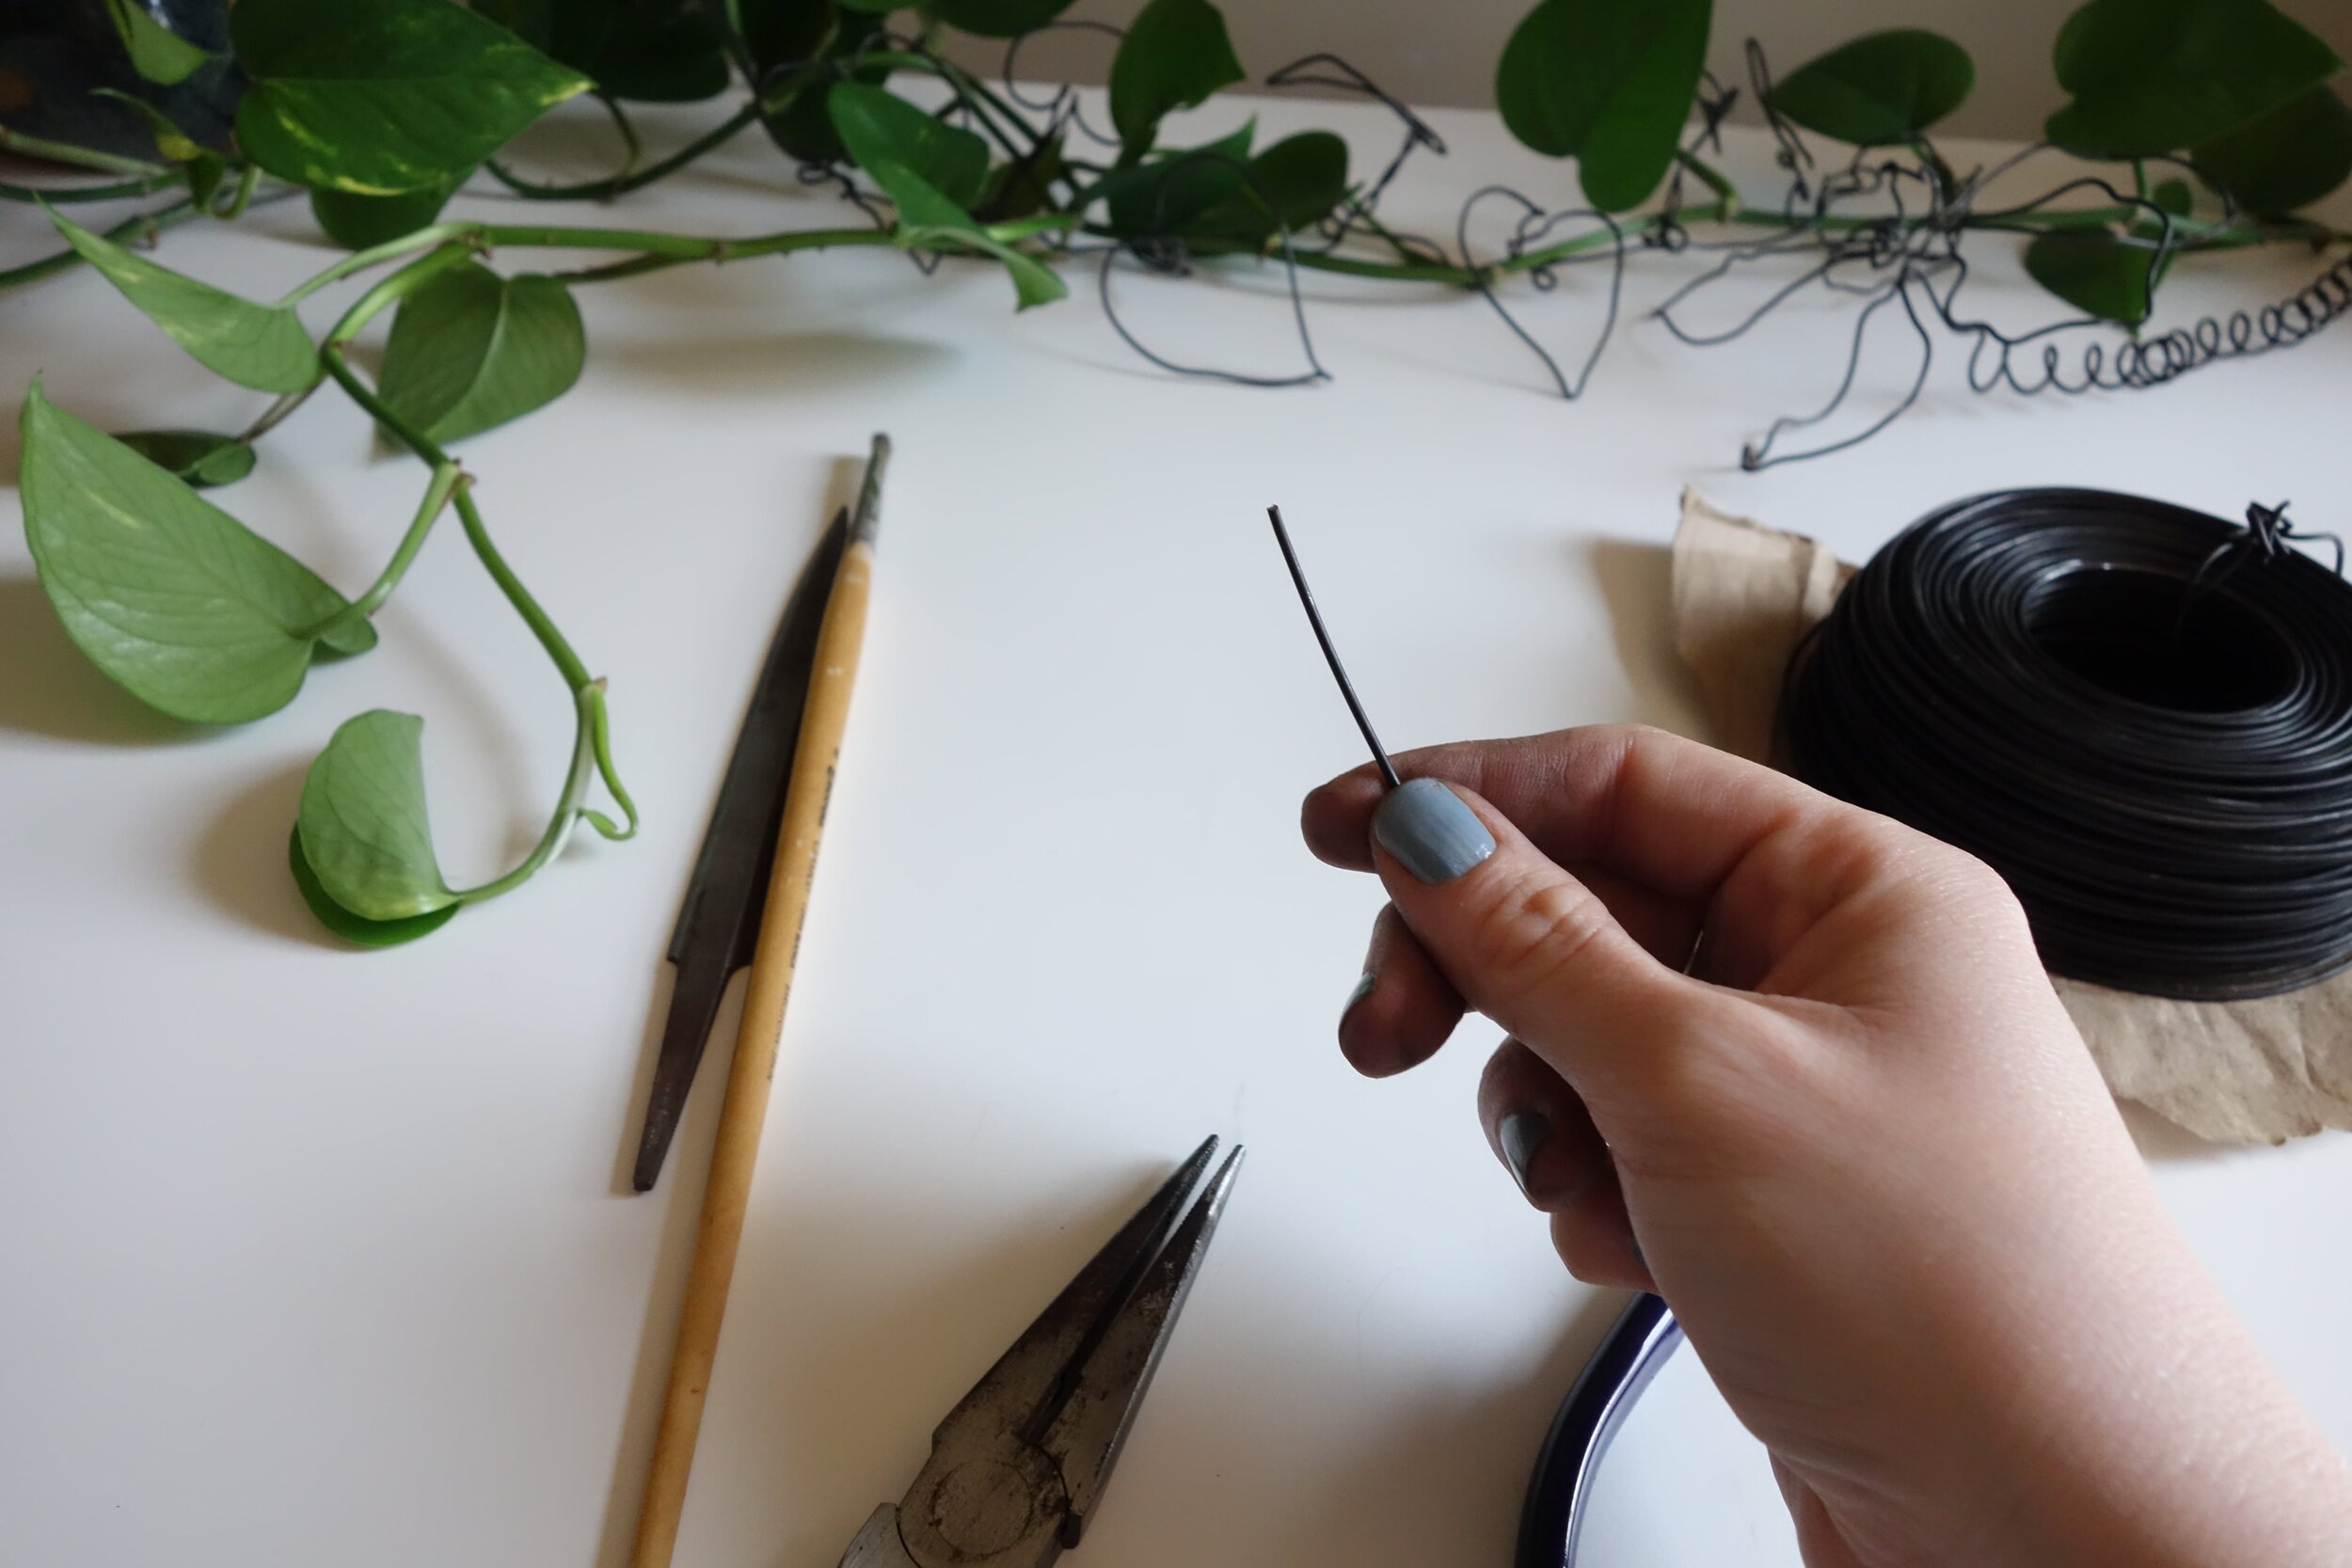
Grab your spool of wire and clip the end so you have a nice clean starting point. If you have a metal file, go ahead and file down the end so that the wire doesn’t scratch you as you work!
Use One Continuous Piece of Wire for a Seamless Look
Creating individual petals and attaching them to a base seems logical, but that would either require welding skills and equipment. It would also lead to a very clunky flower. For a more elegant look and a simpler process, we will use one continuous piece of wire. This may seem intimidating but think of it as a fluid line drawing where you aim to only show the most essential parts of the flower. Simplify, simplify!
Choose Your Vase or Vessel Ahead of Time to Help Scale Your Flower
We suggest picking your vessel before you start creating your metal flowers. Knowing the size and shape of your vase will help you create your wire flowers in the correct scale.
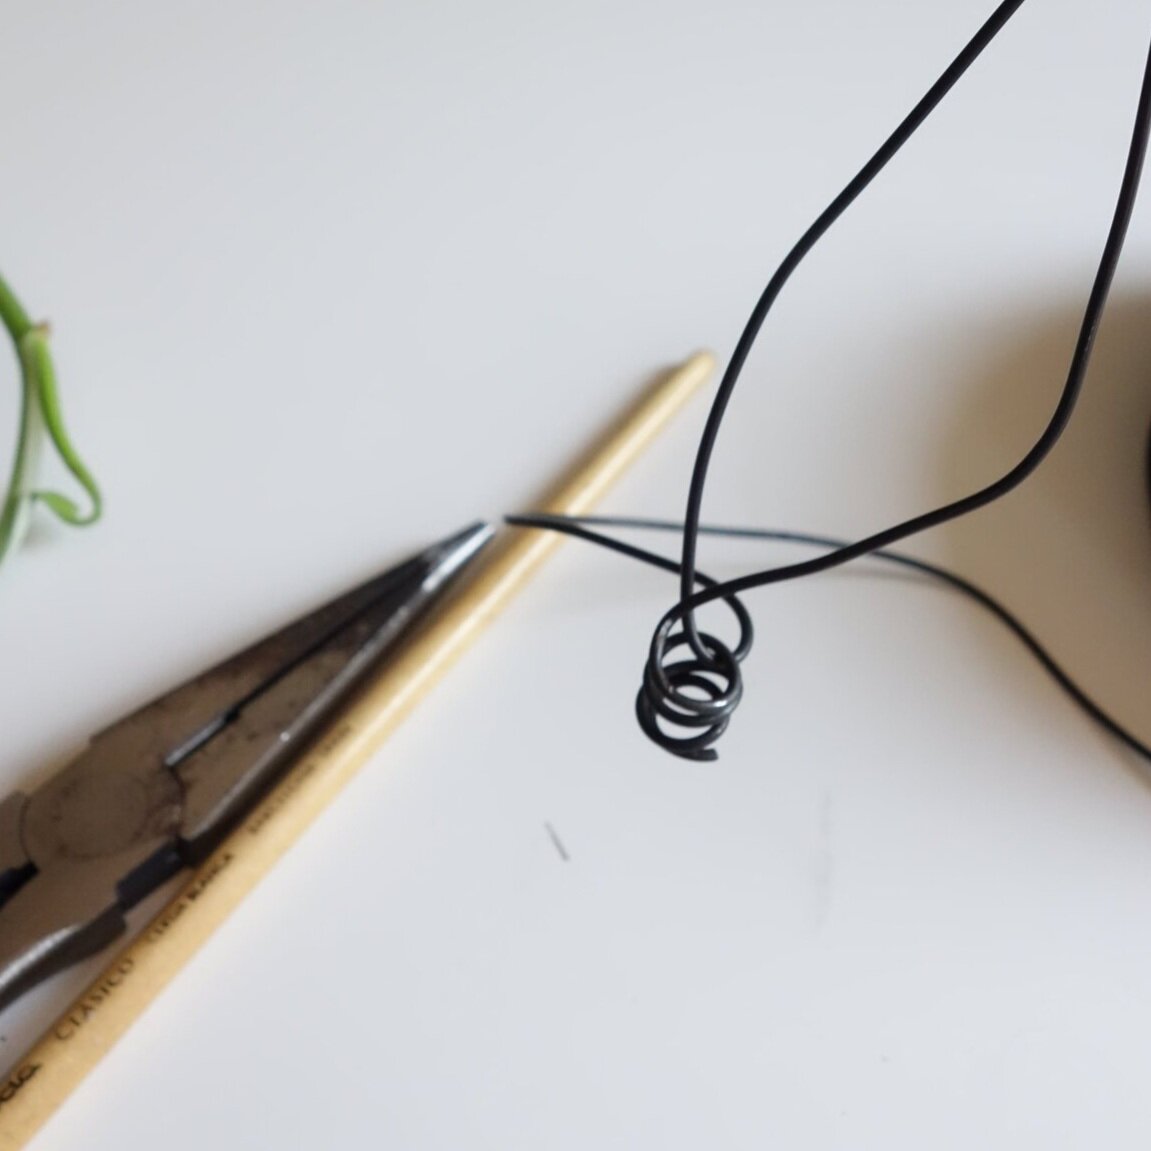
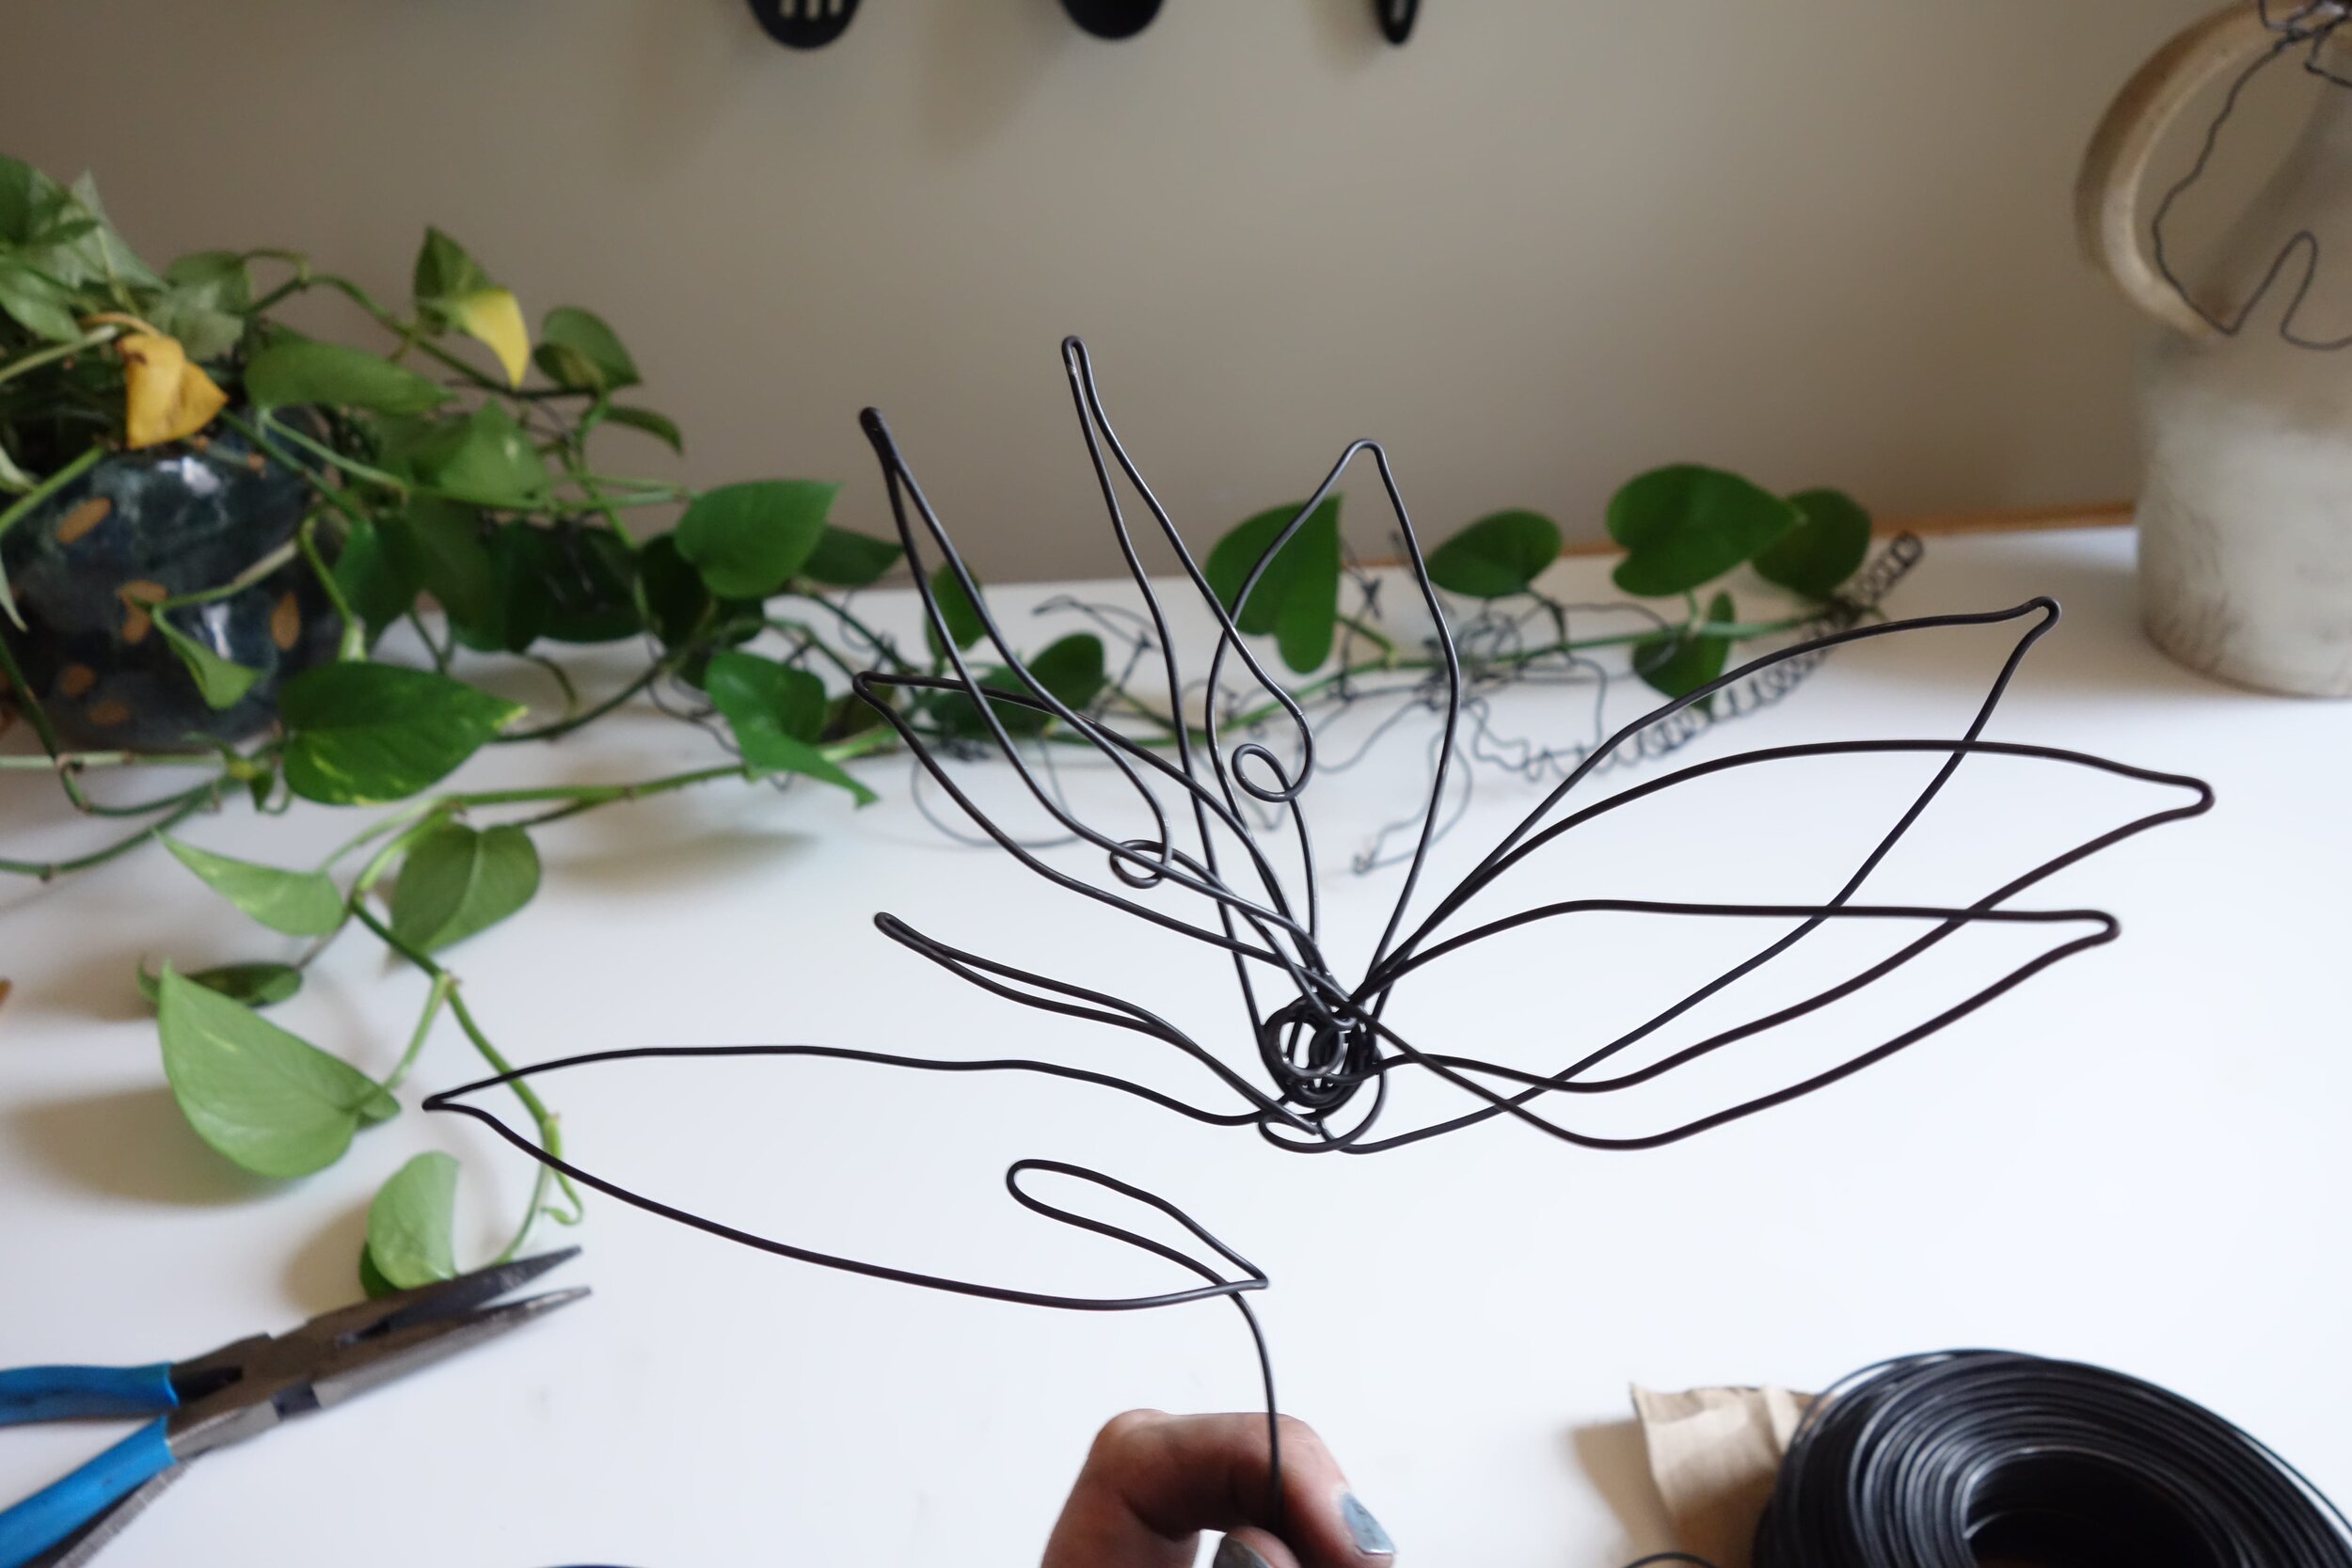
STEP THREE: Find Your Flower Center and Start Molding Your Wire
Find Your Center
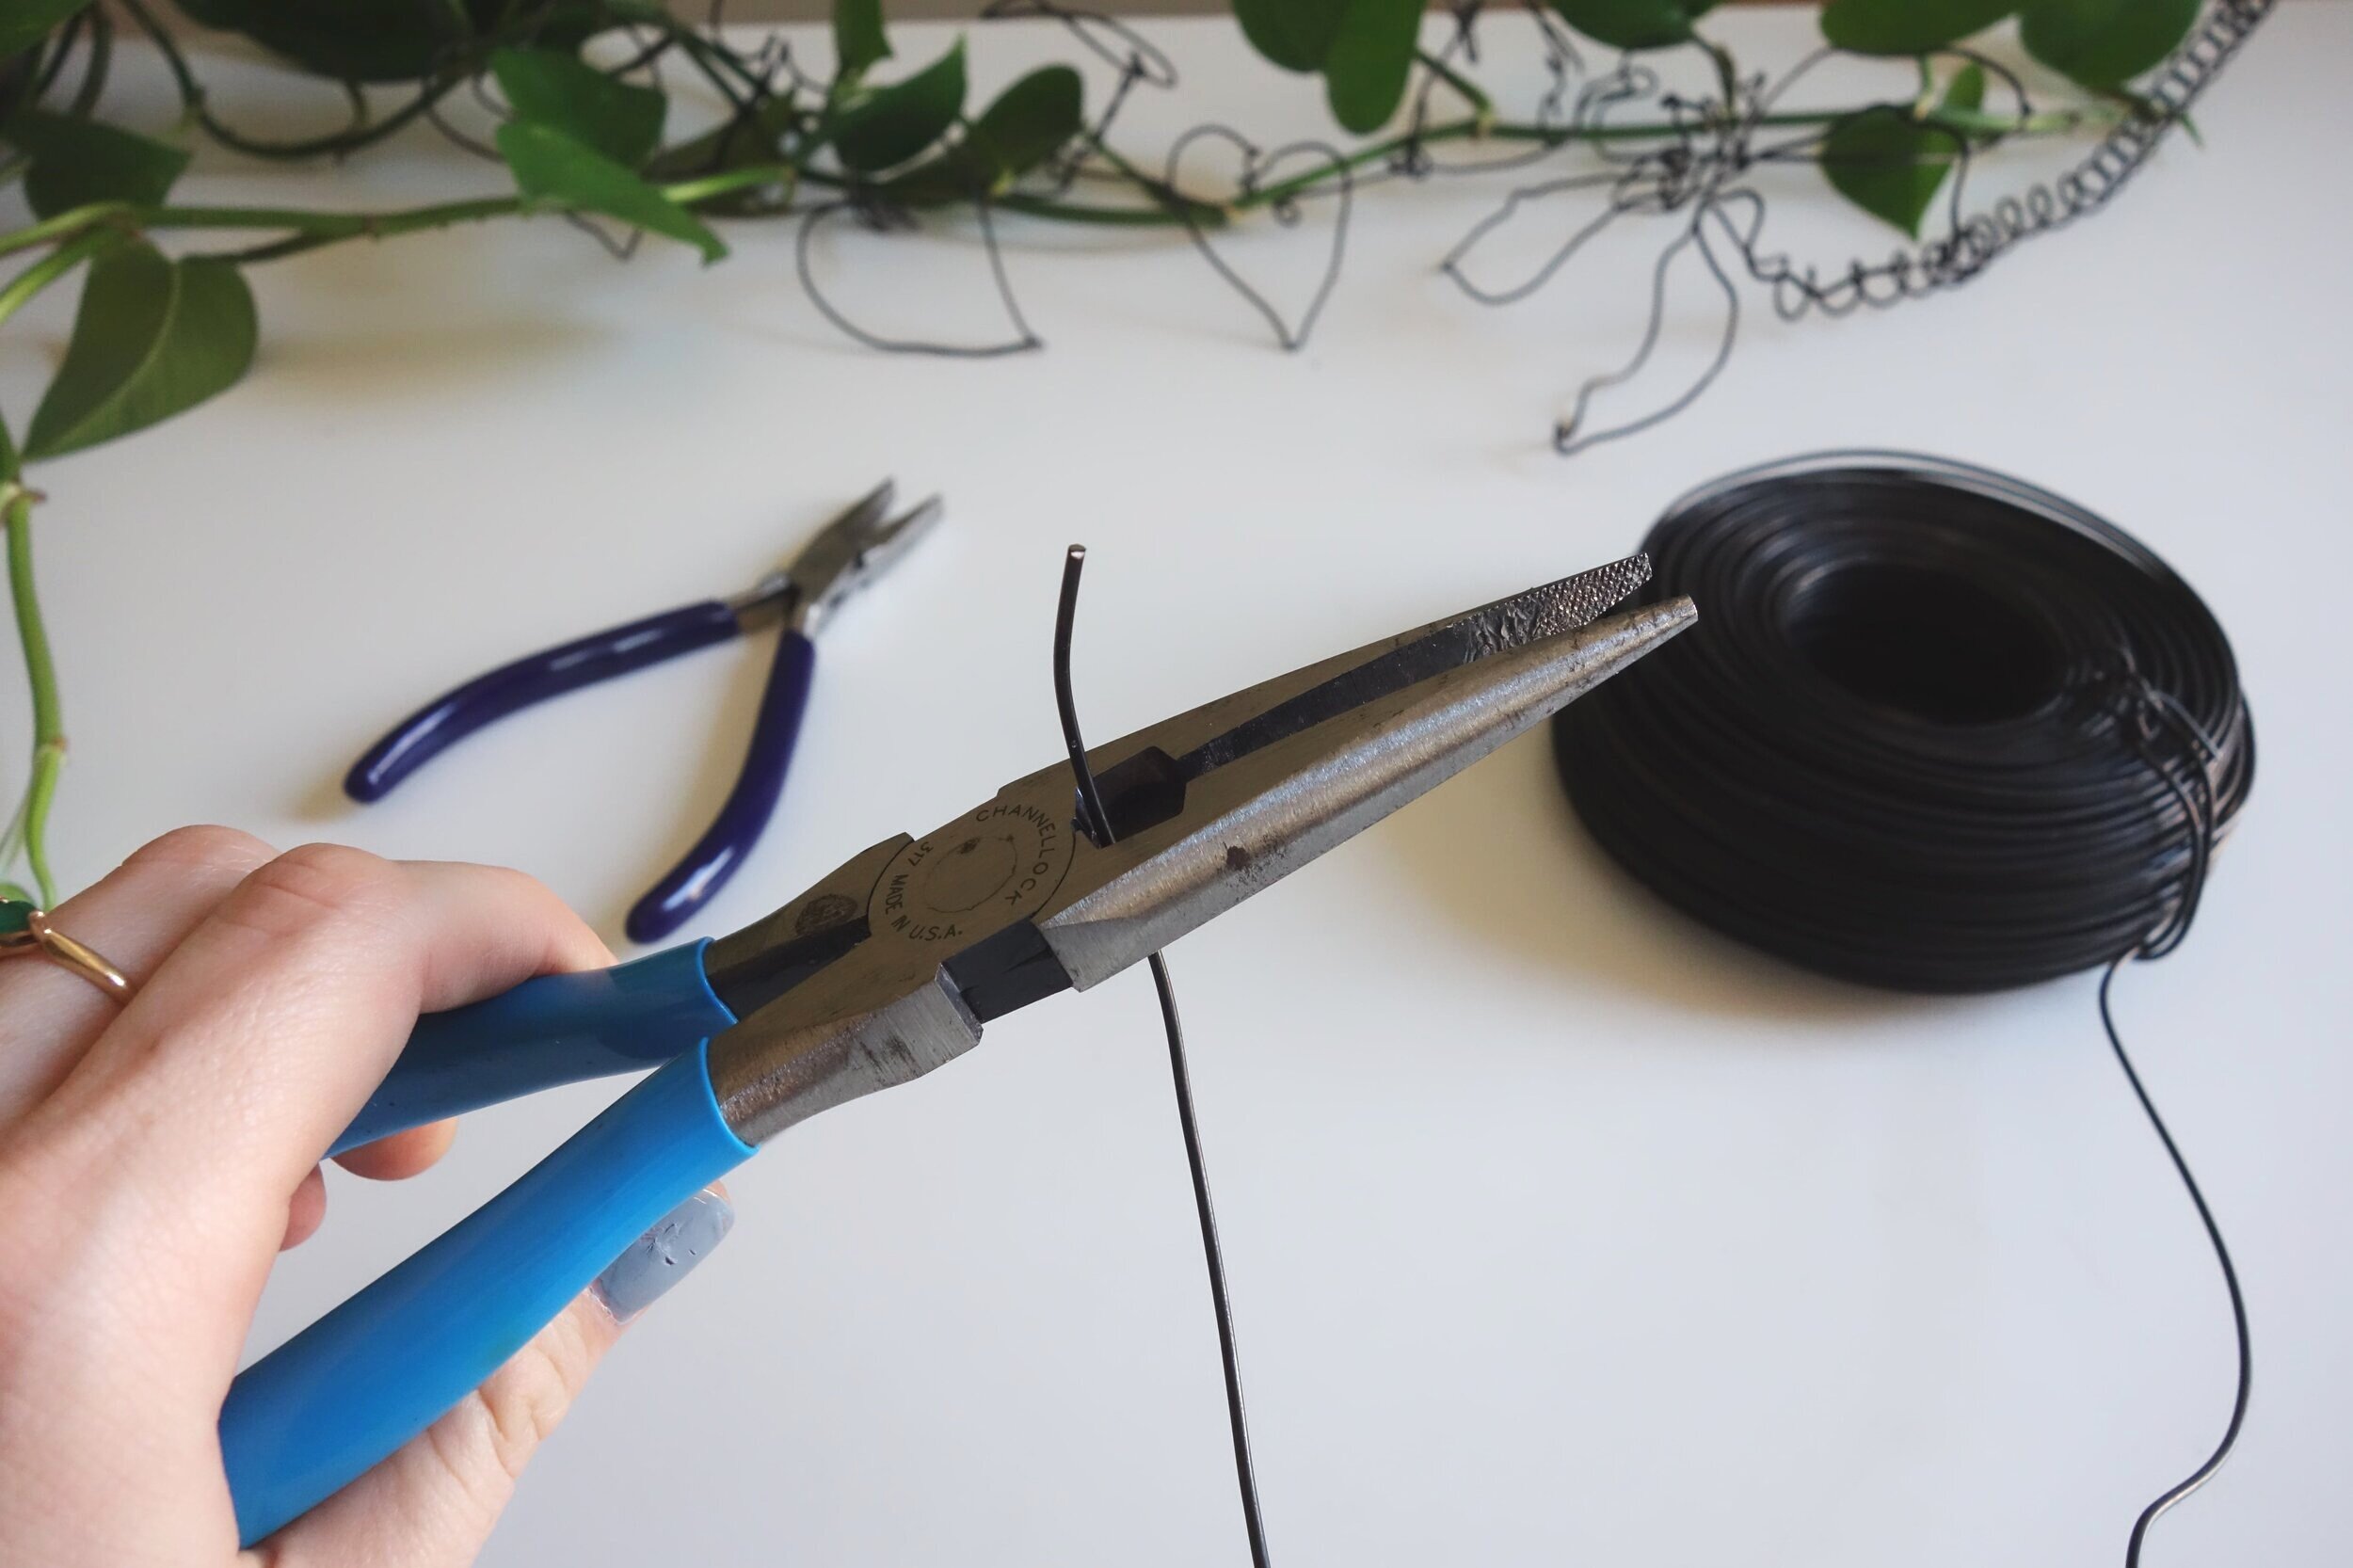
Decide on your starting point! This will be where the end of your wire lives so choose a place toward where the petals meet. Use your pliers to bend the end of your wire inward and shape the center of your flower.
Consider the Scale of your Flower — and Vase!
Because this step sets the scale of your flower, look at the vase you have chosen and decide how large you would like the bloom! With this gauge of wire, anywhere between 4-8” will look great! Also, consider where this vase will be placed in your home. If it’s up in a corner, go a little bigger!
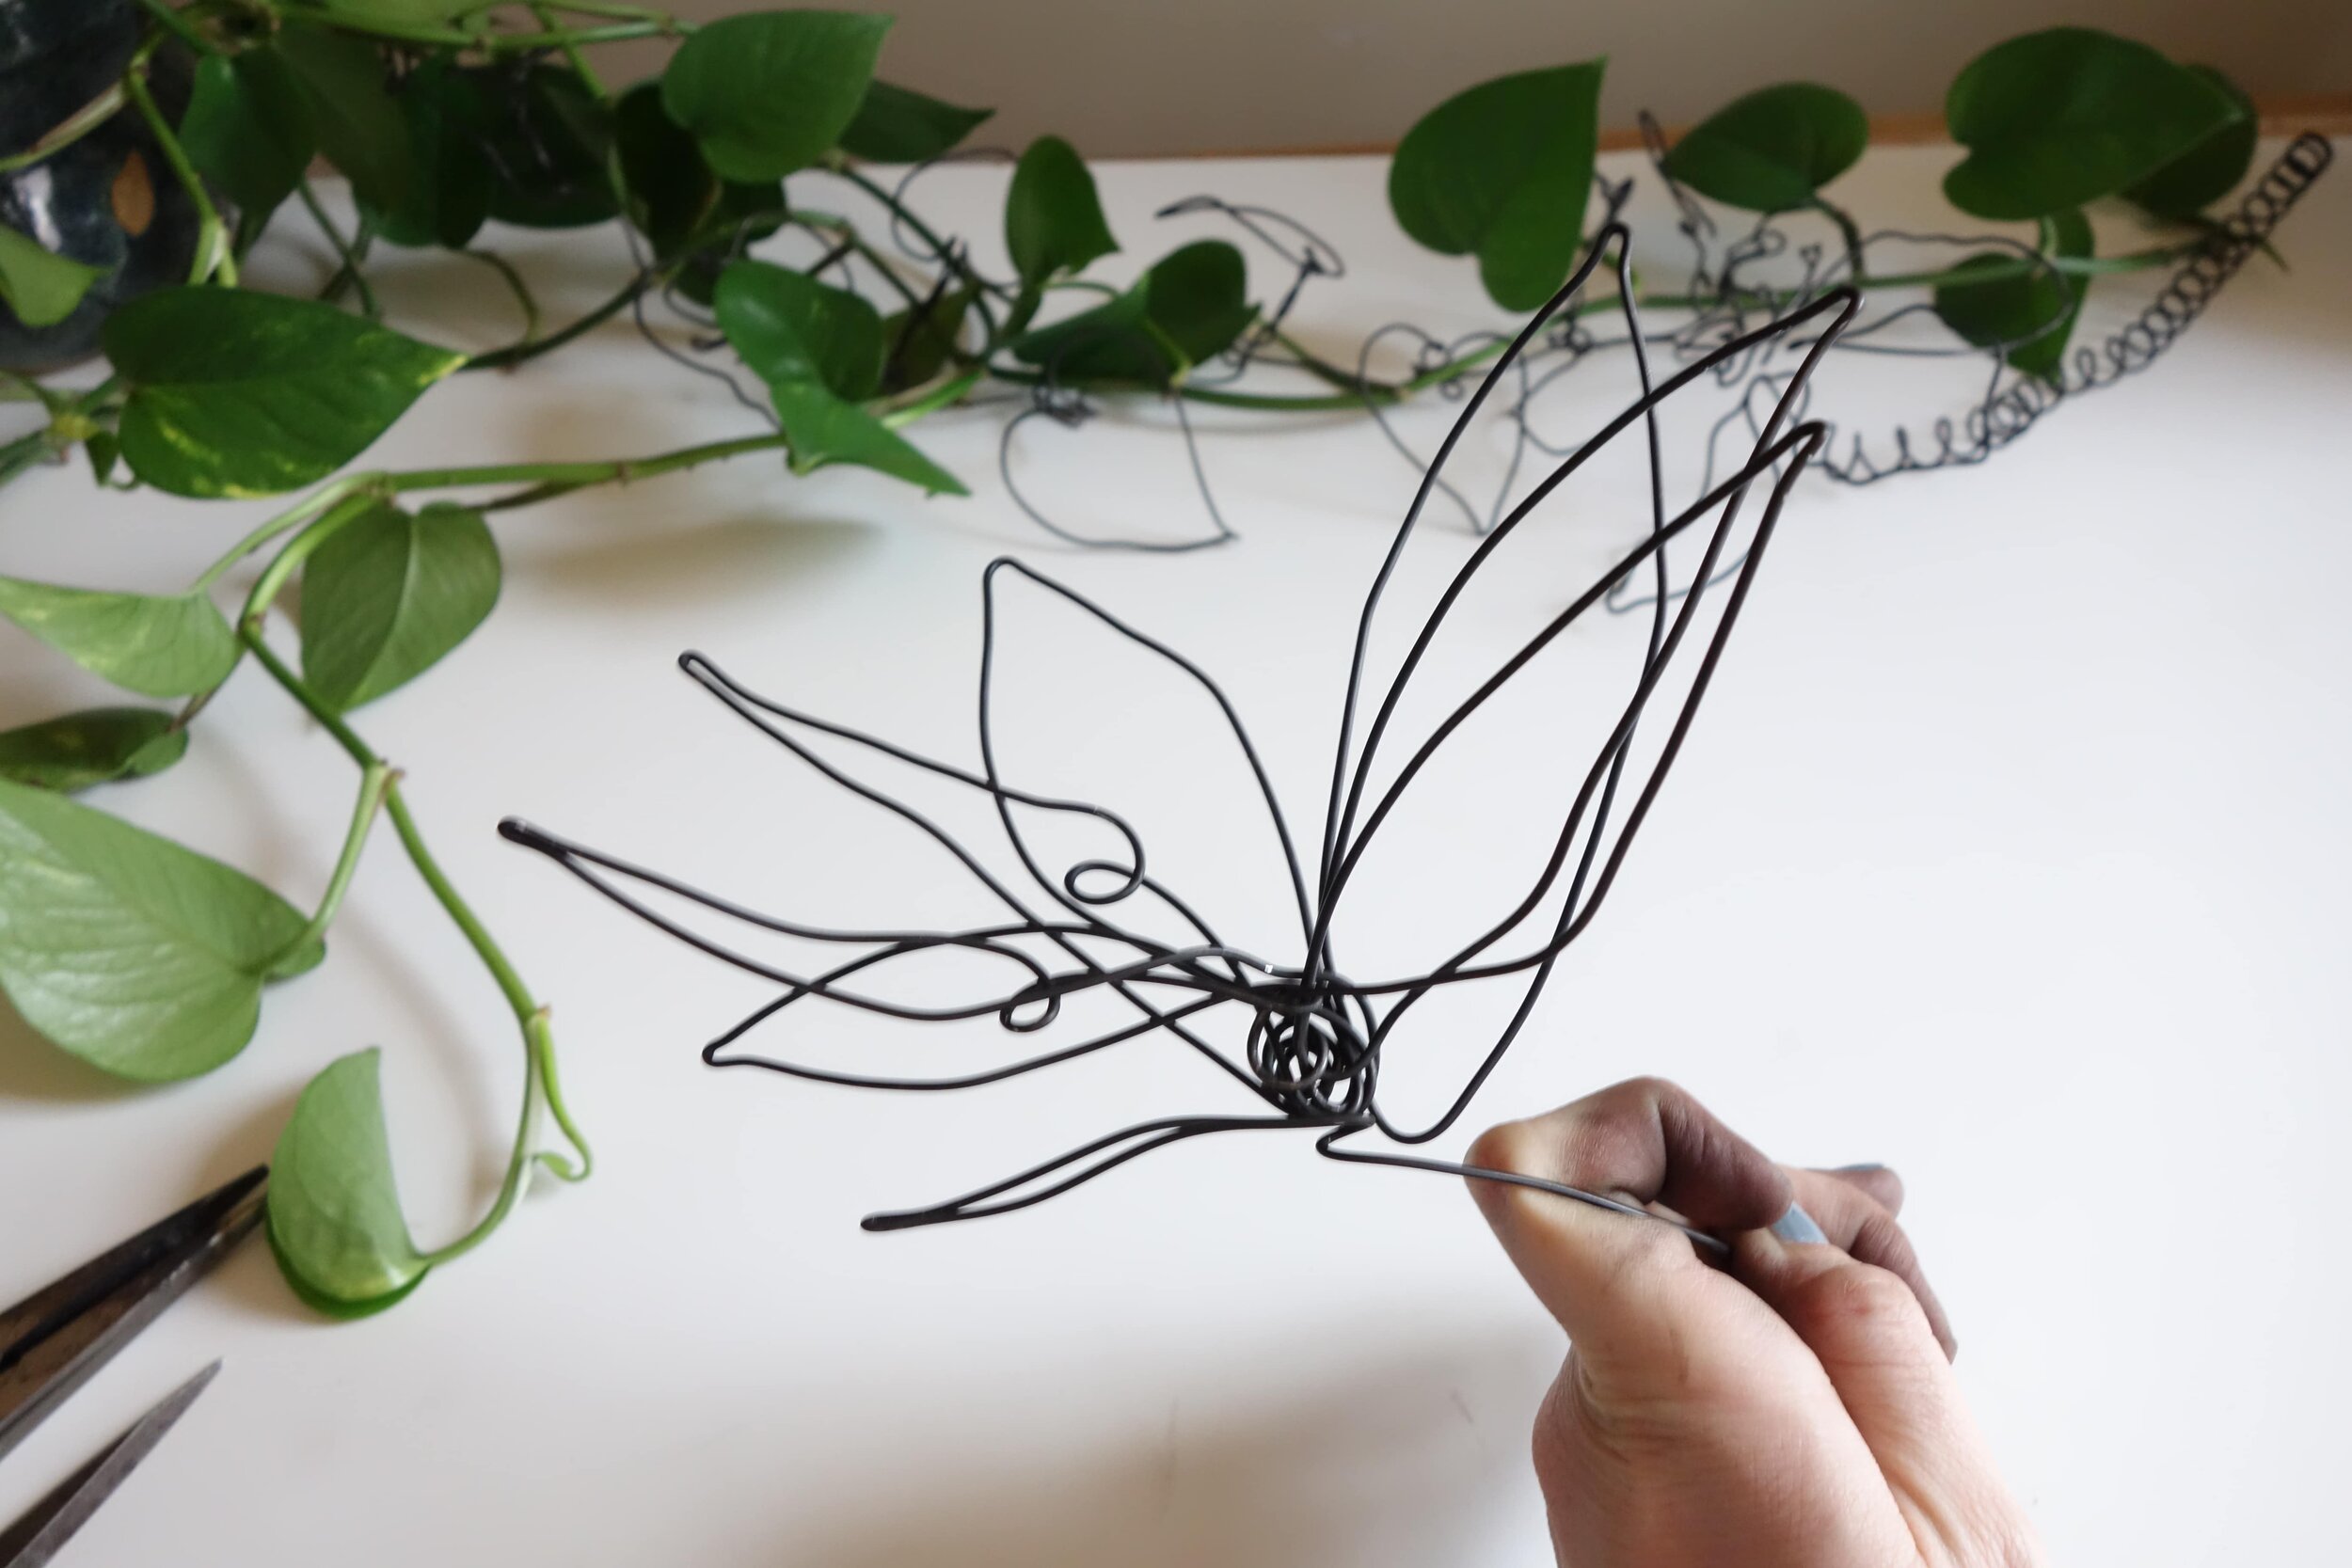
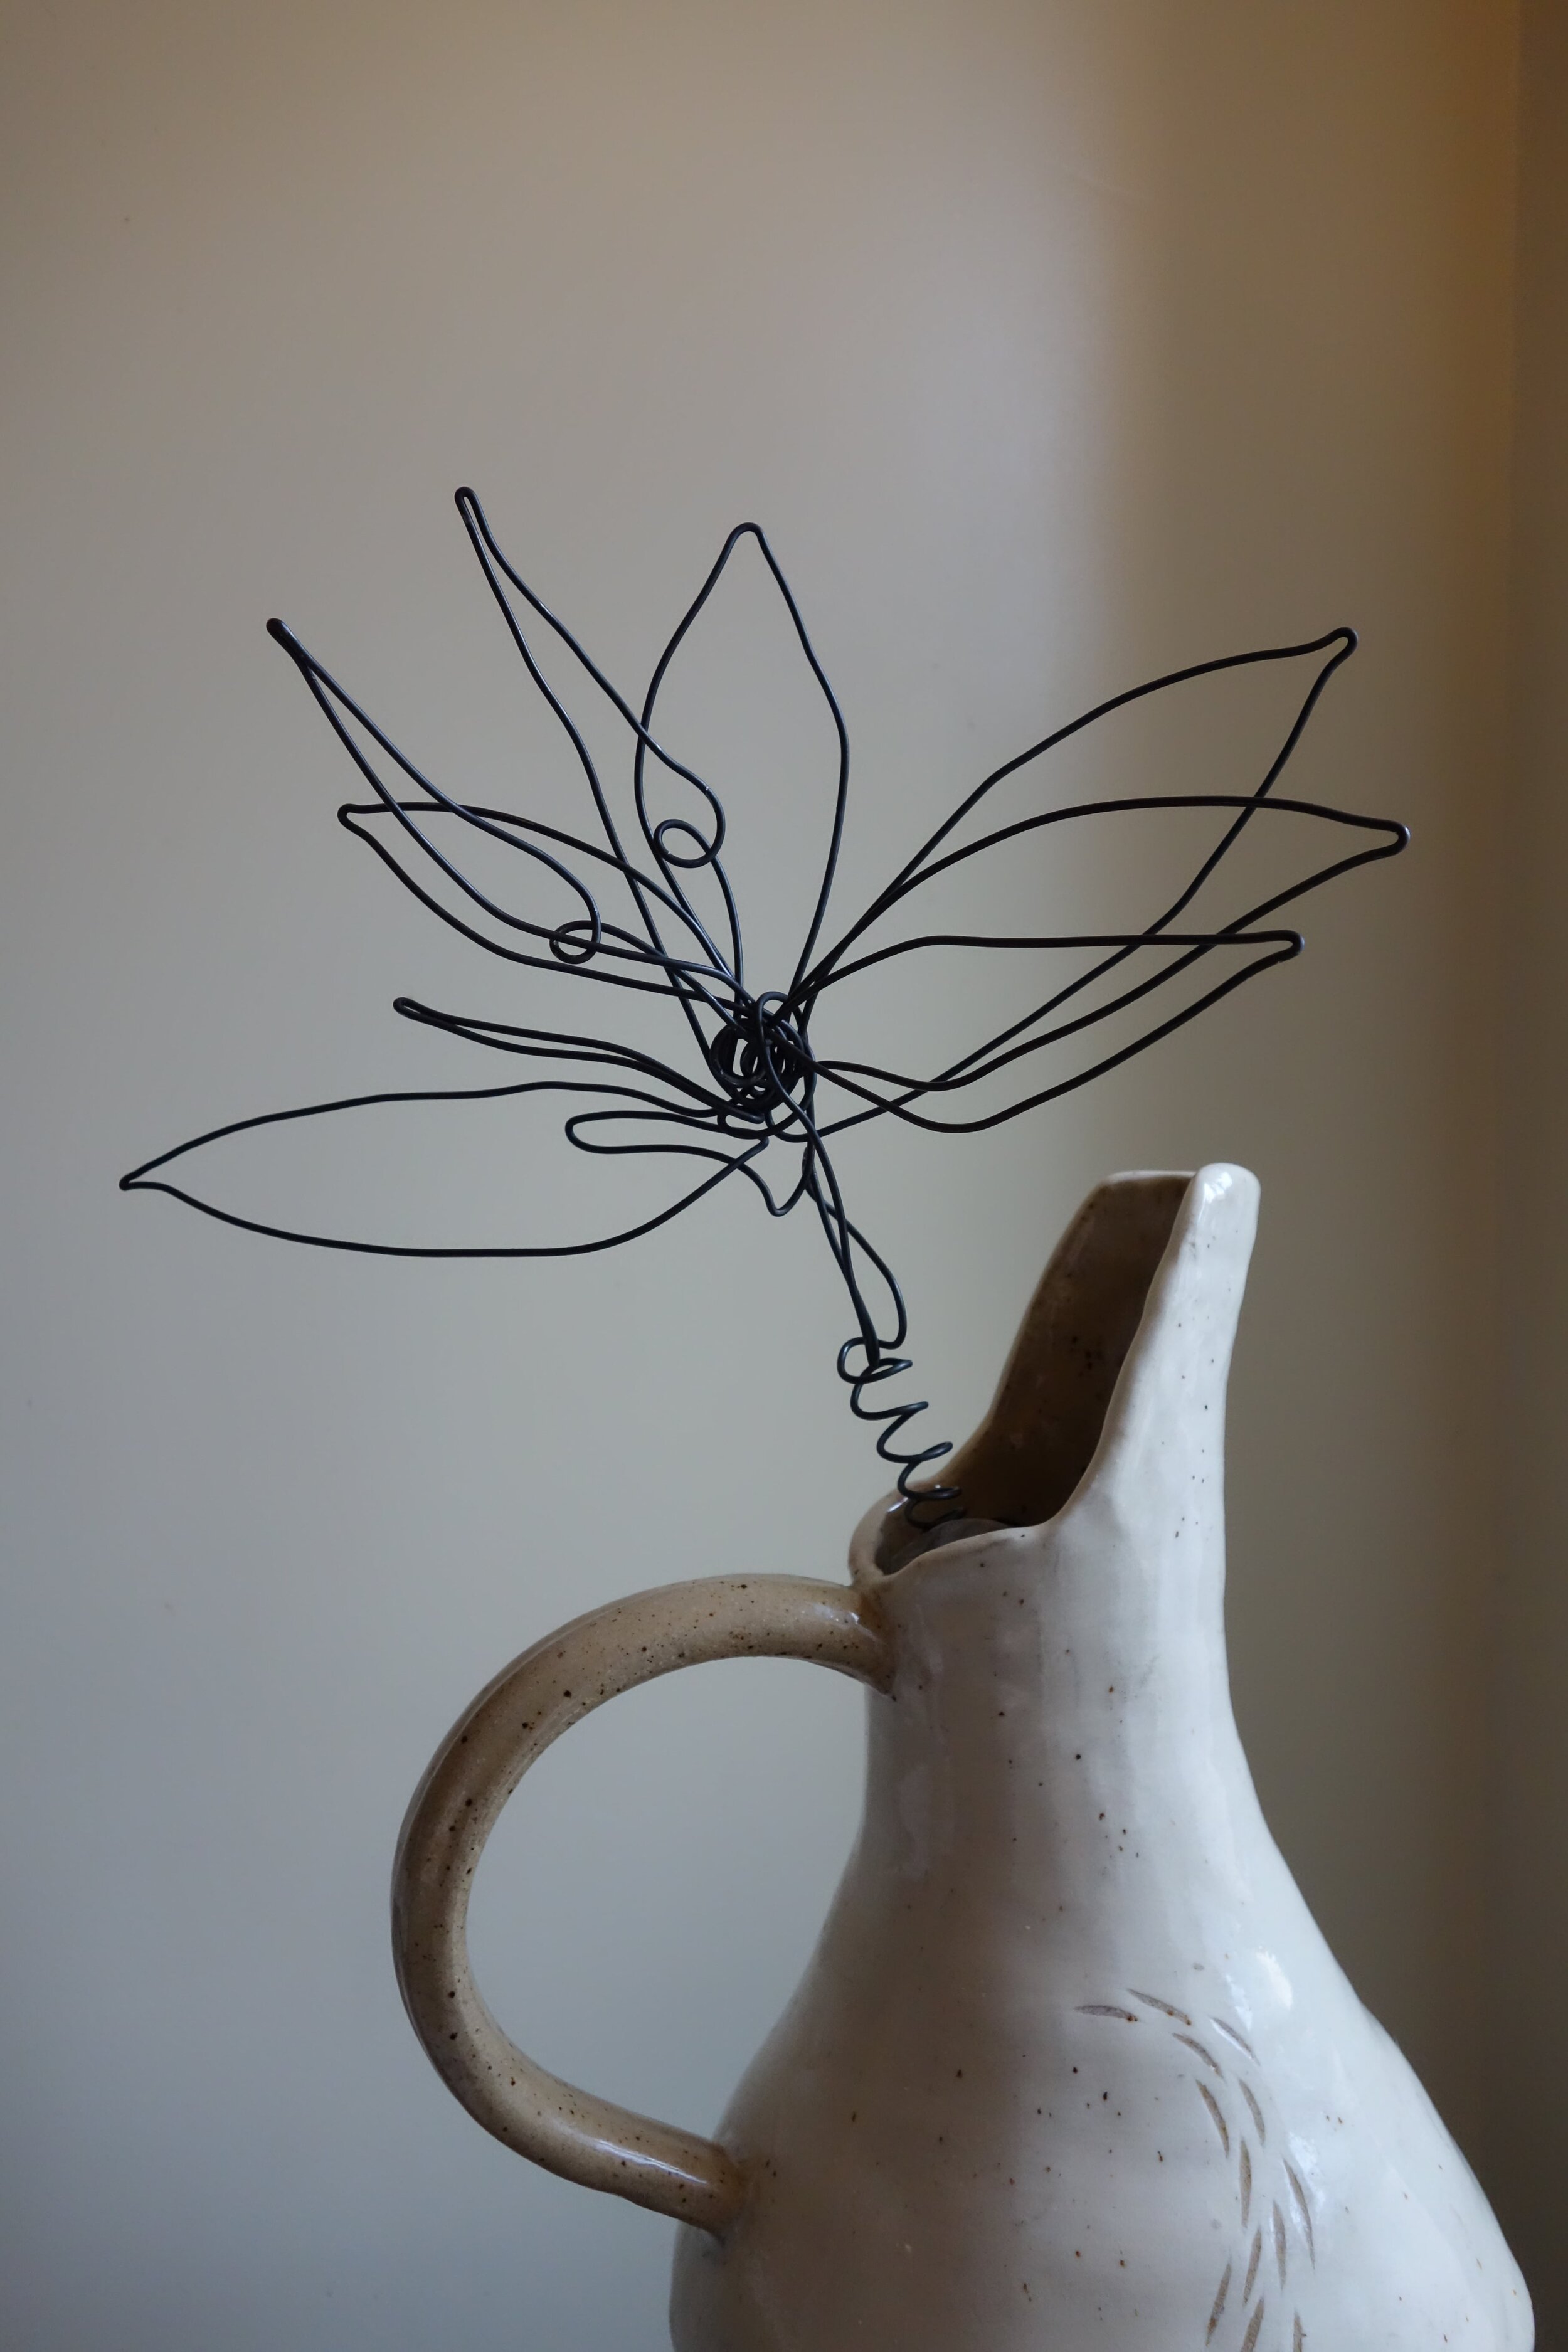
STEP FOUR: Create Your Flower Petals
Remember: This is a Linear Process
Because we are working with one continuous piece of wire, it is best to acknowledge that your process should be linear and that ‘going back’ to fix any specific part will alter the rest of your piece. Our advice is to take your time with each part, and don’t look back!
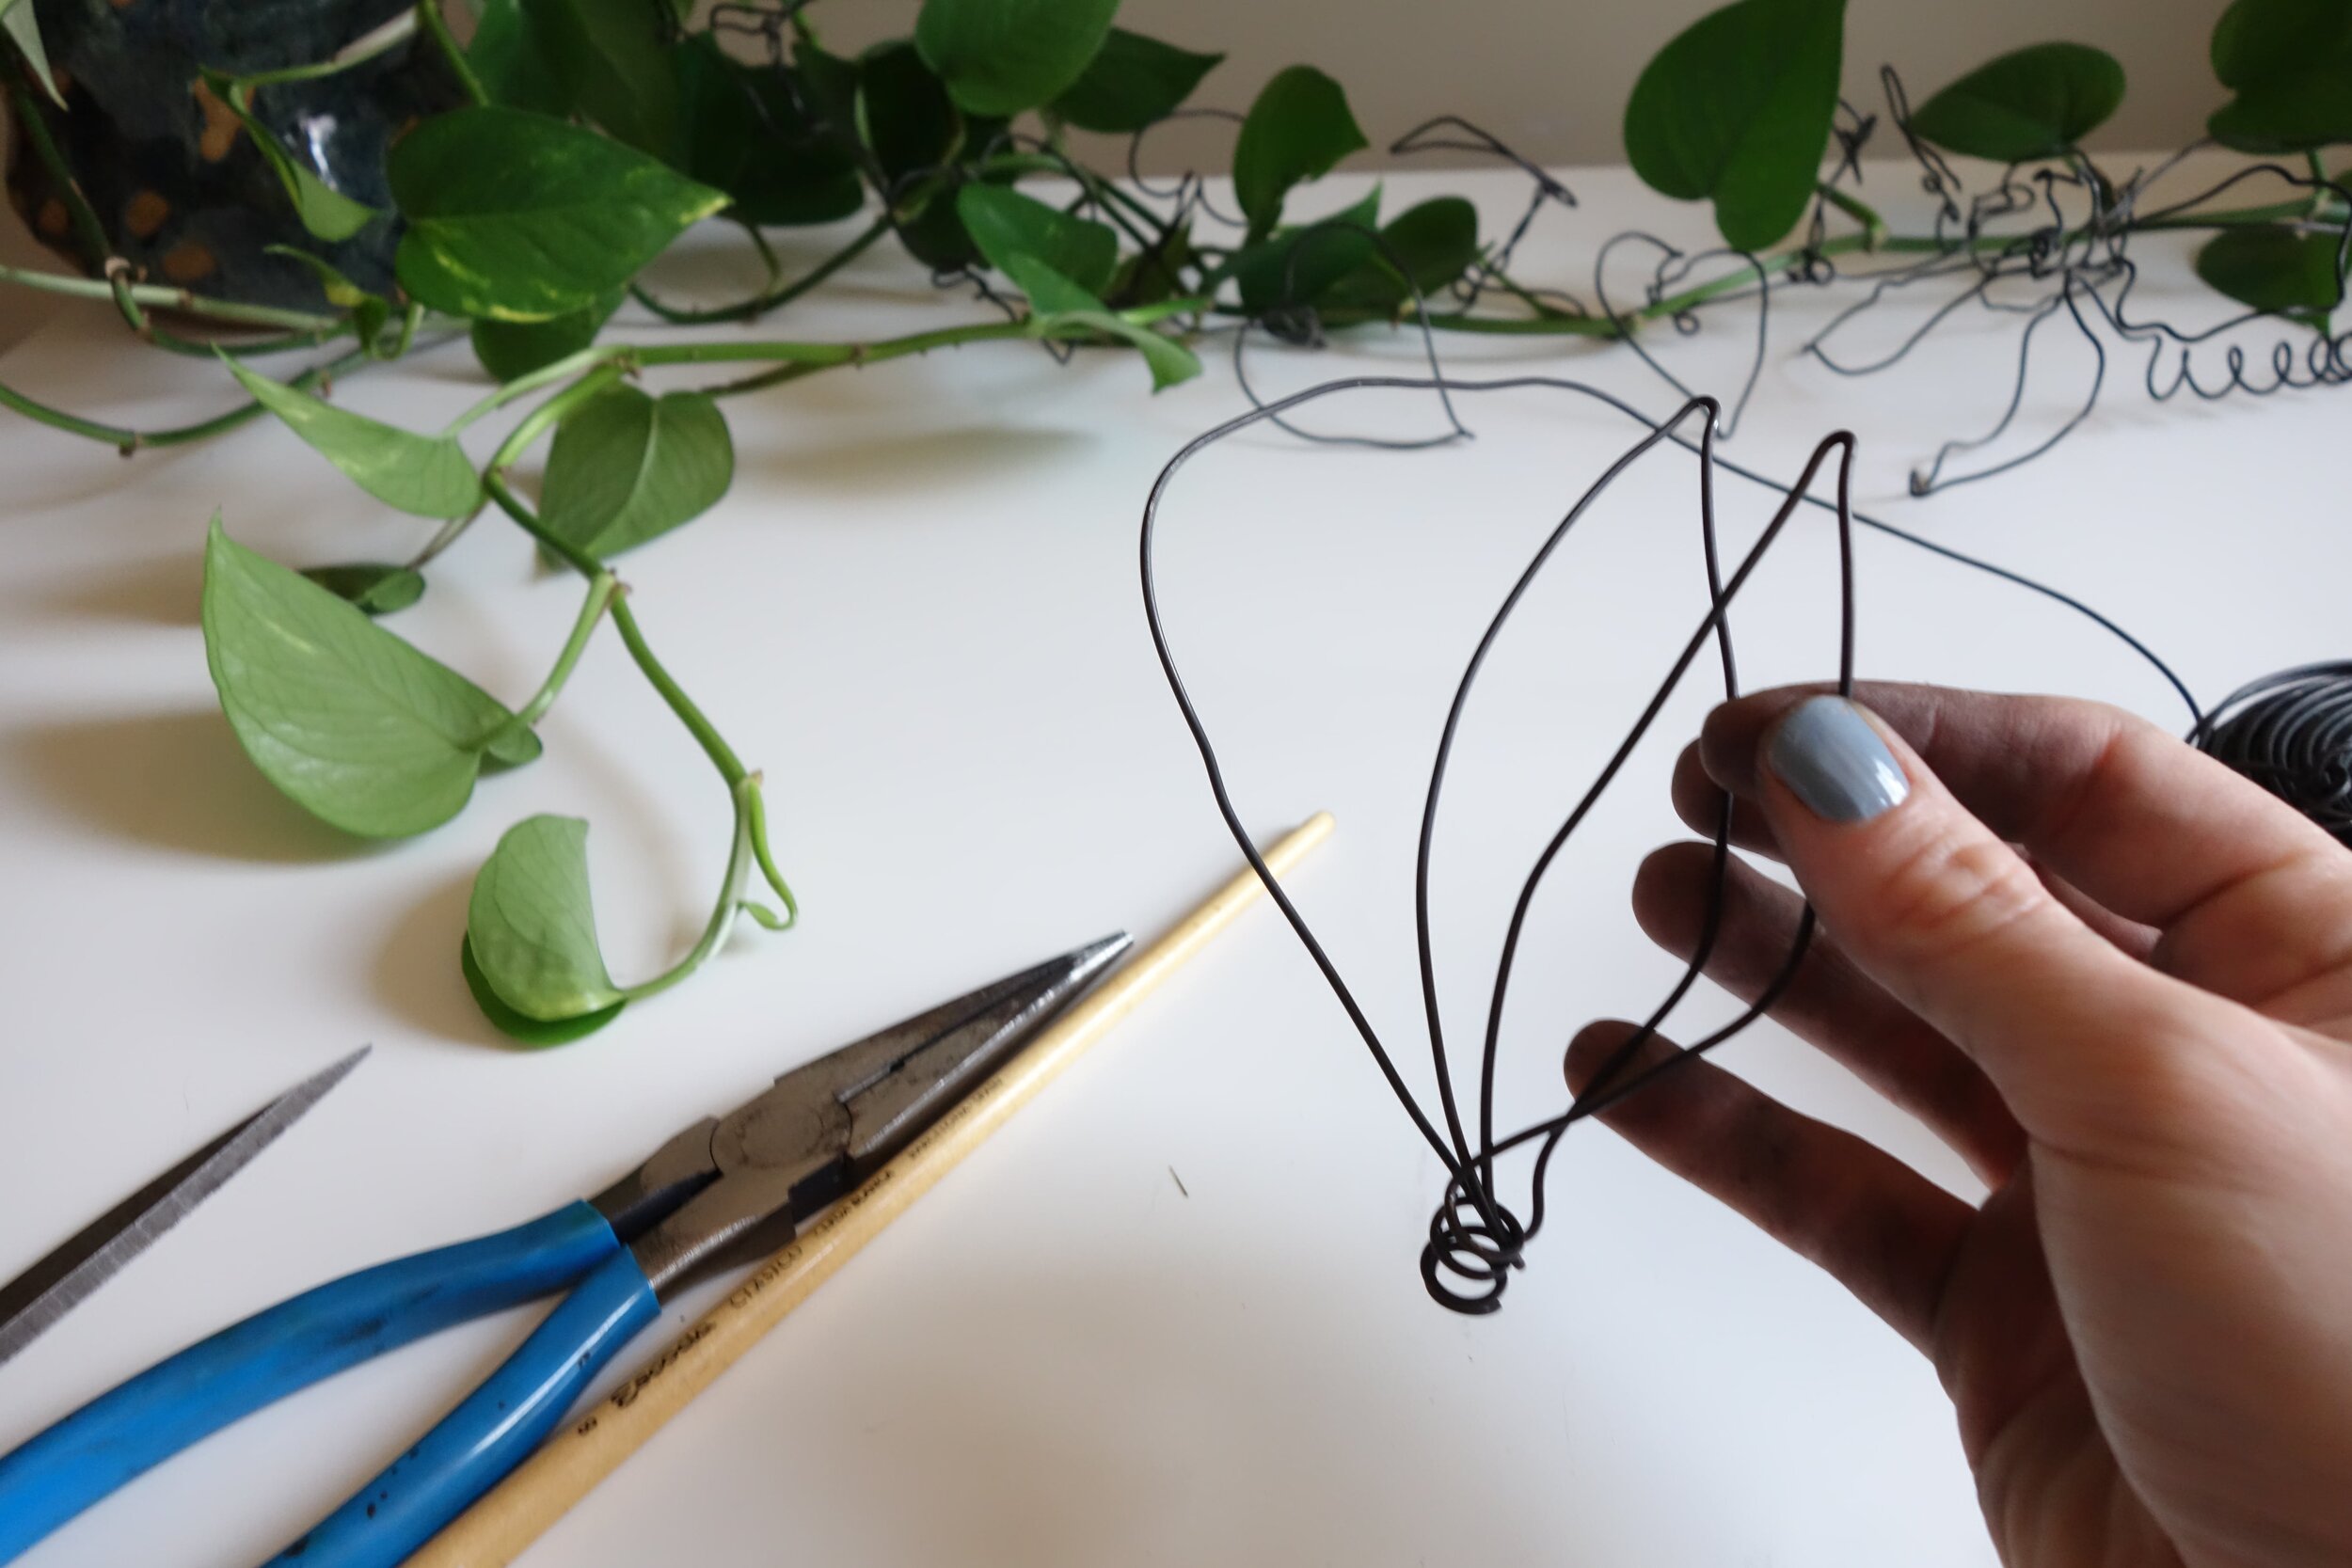
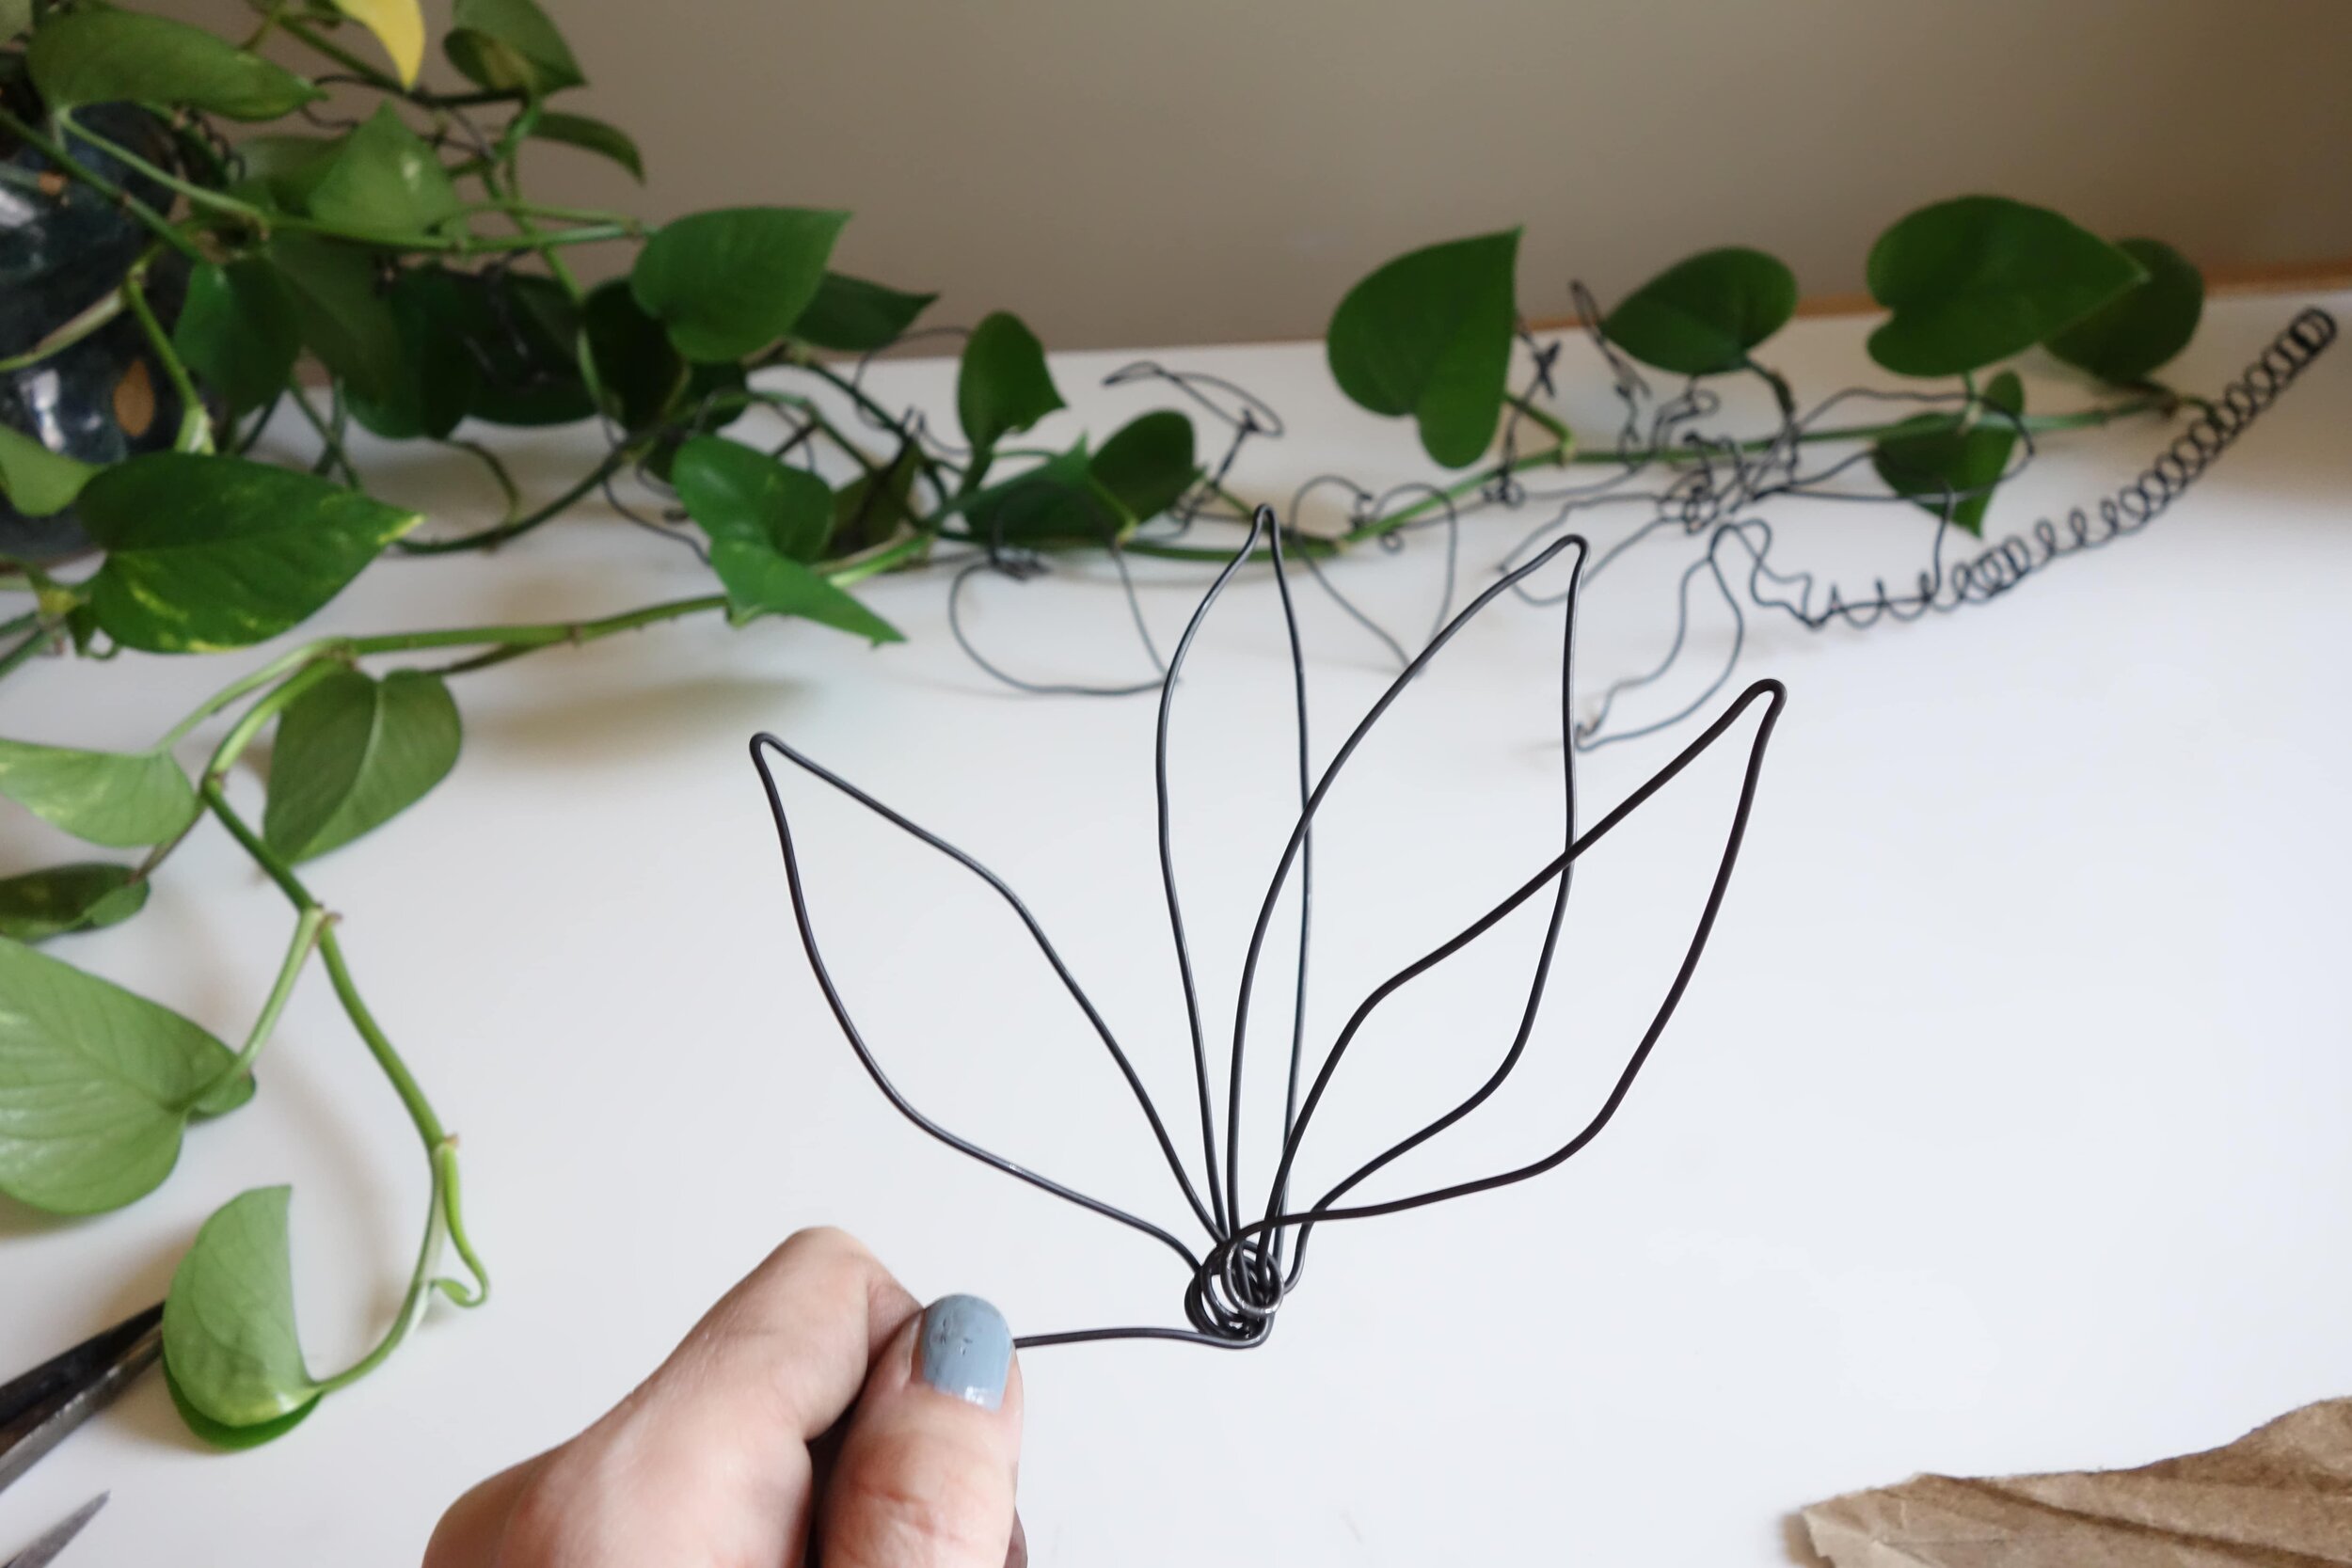
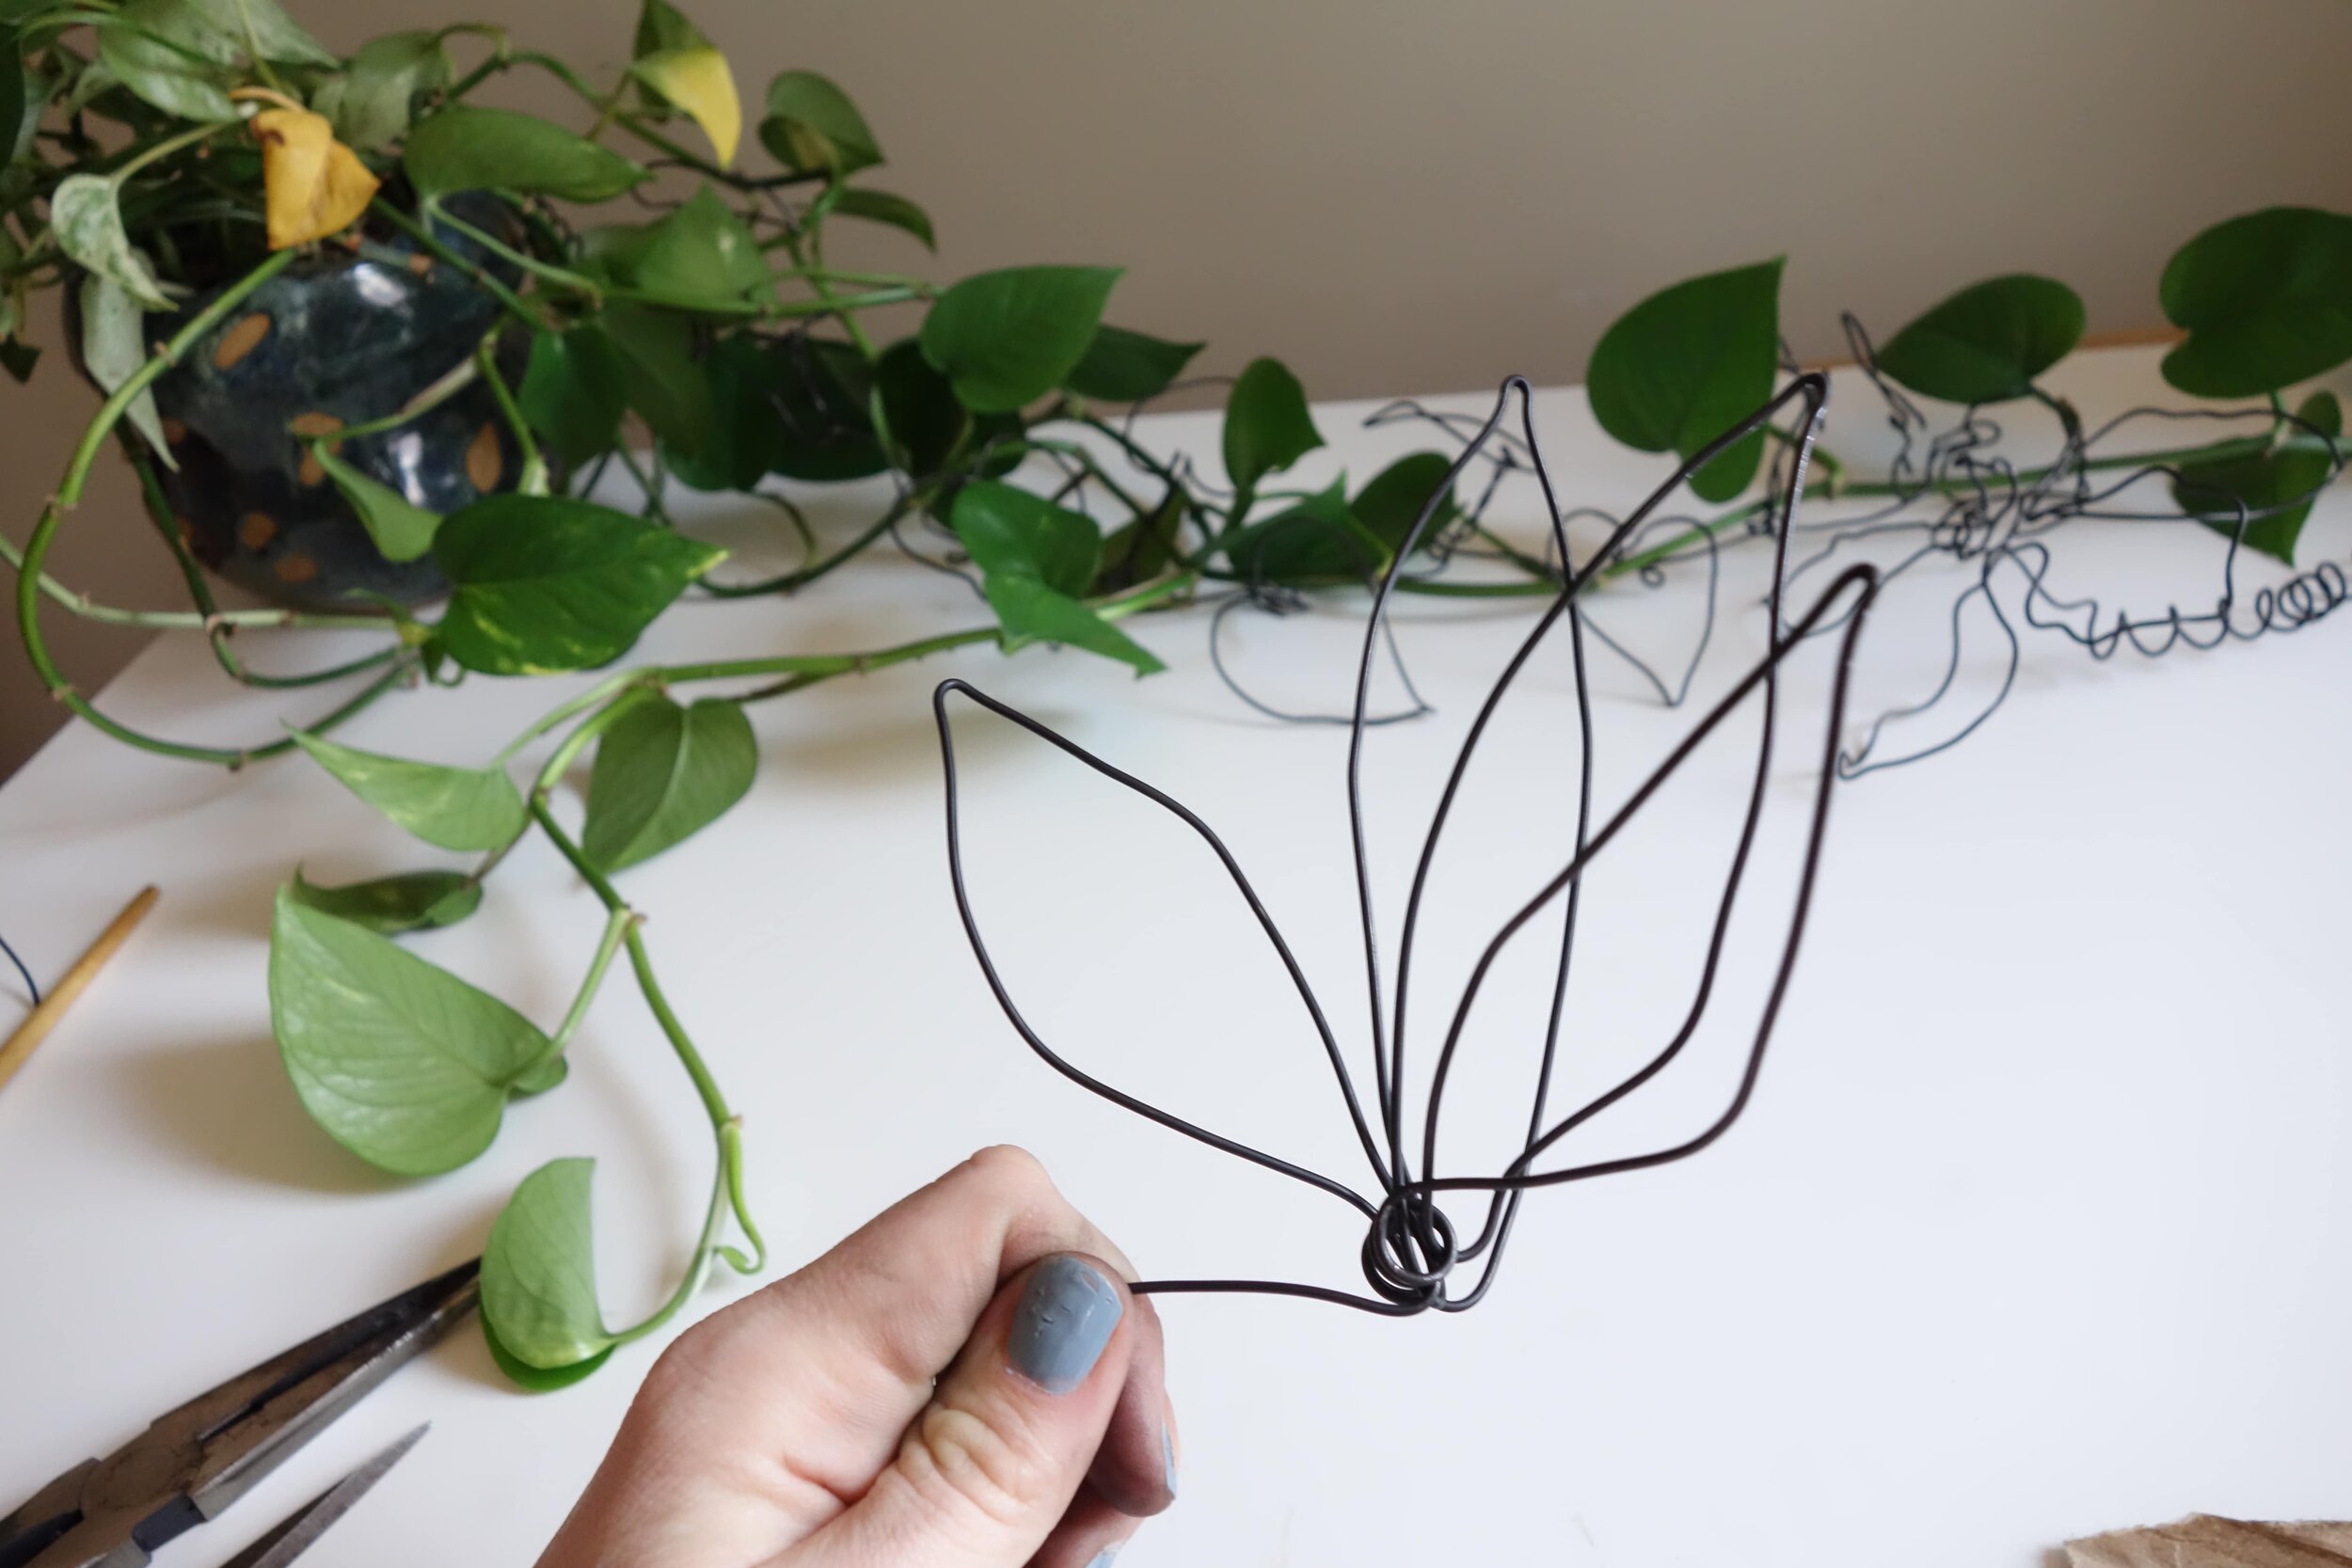
Continue Making Your Petals
Make your way around your flower taking care to view it from multiple angles as you work. If you need to start over, start over! This wire is not a precious material, so if something isn’t feeling right and you’ve thought of a better way to approach it the next time, there’s no harm done.
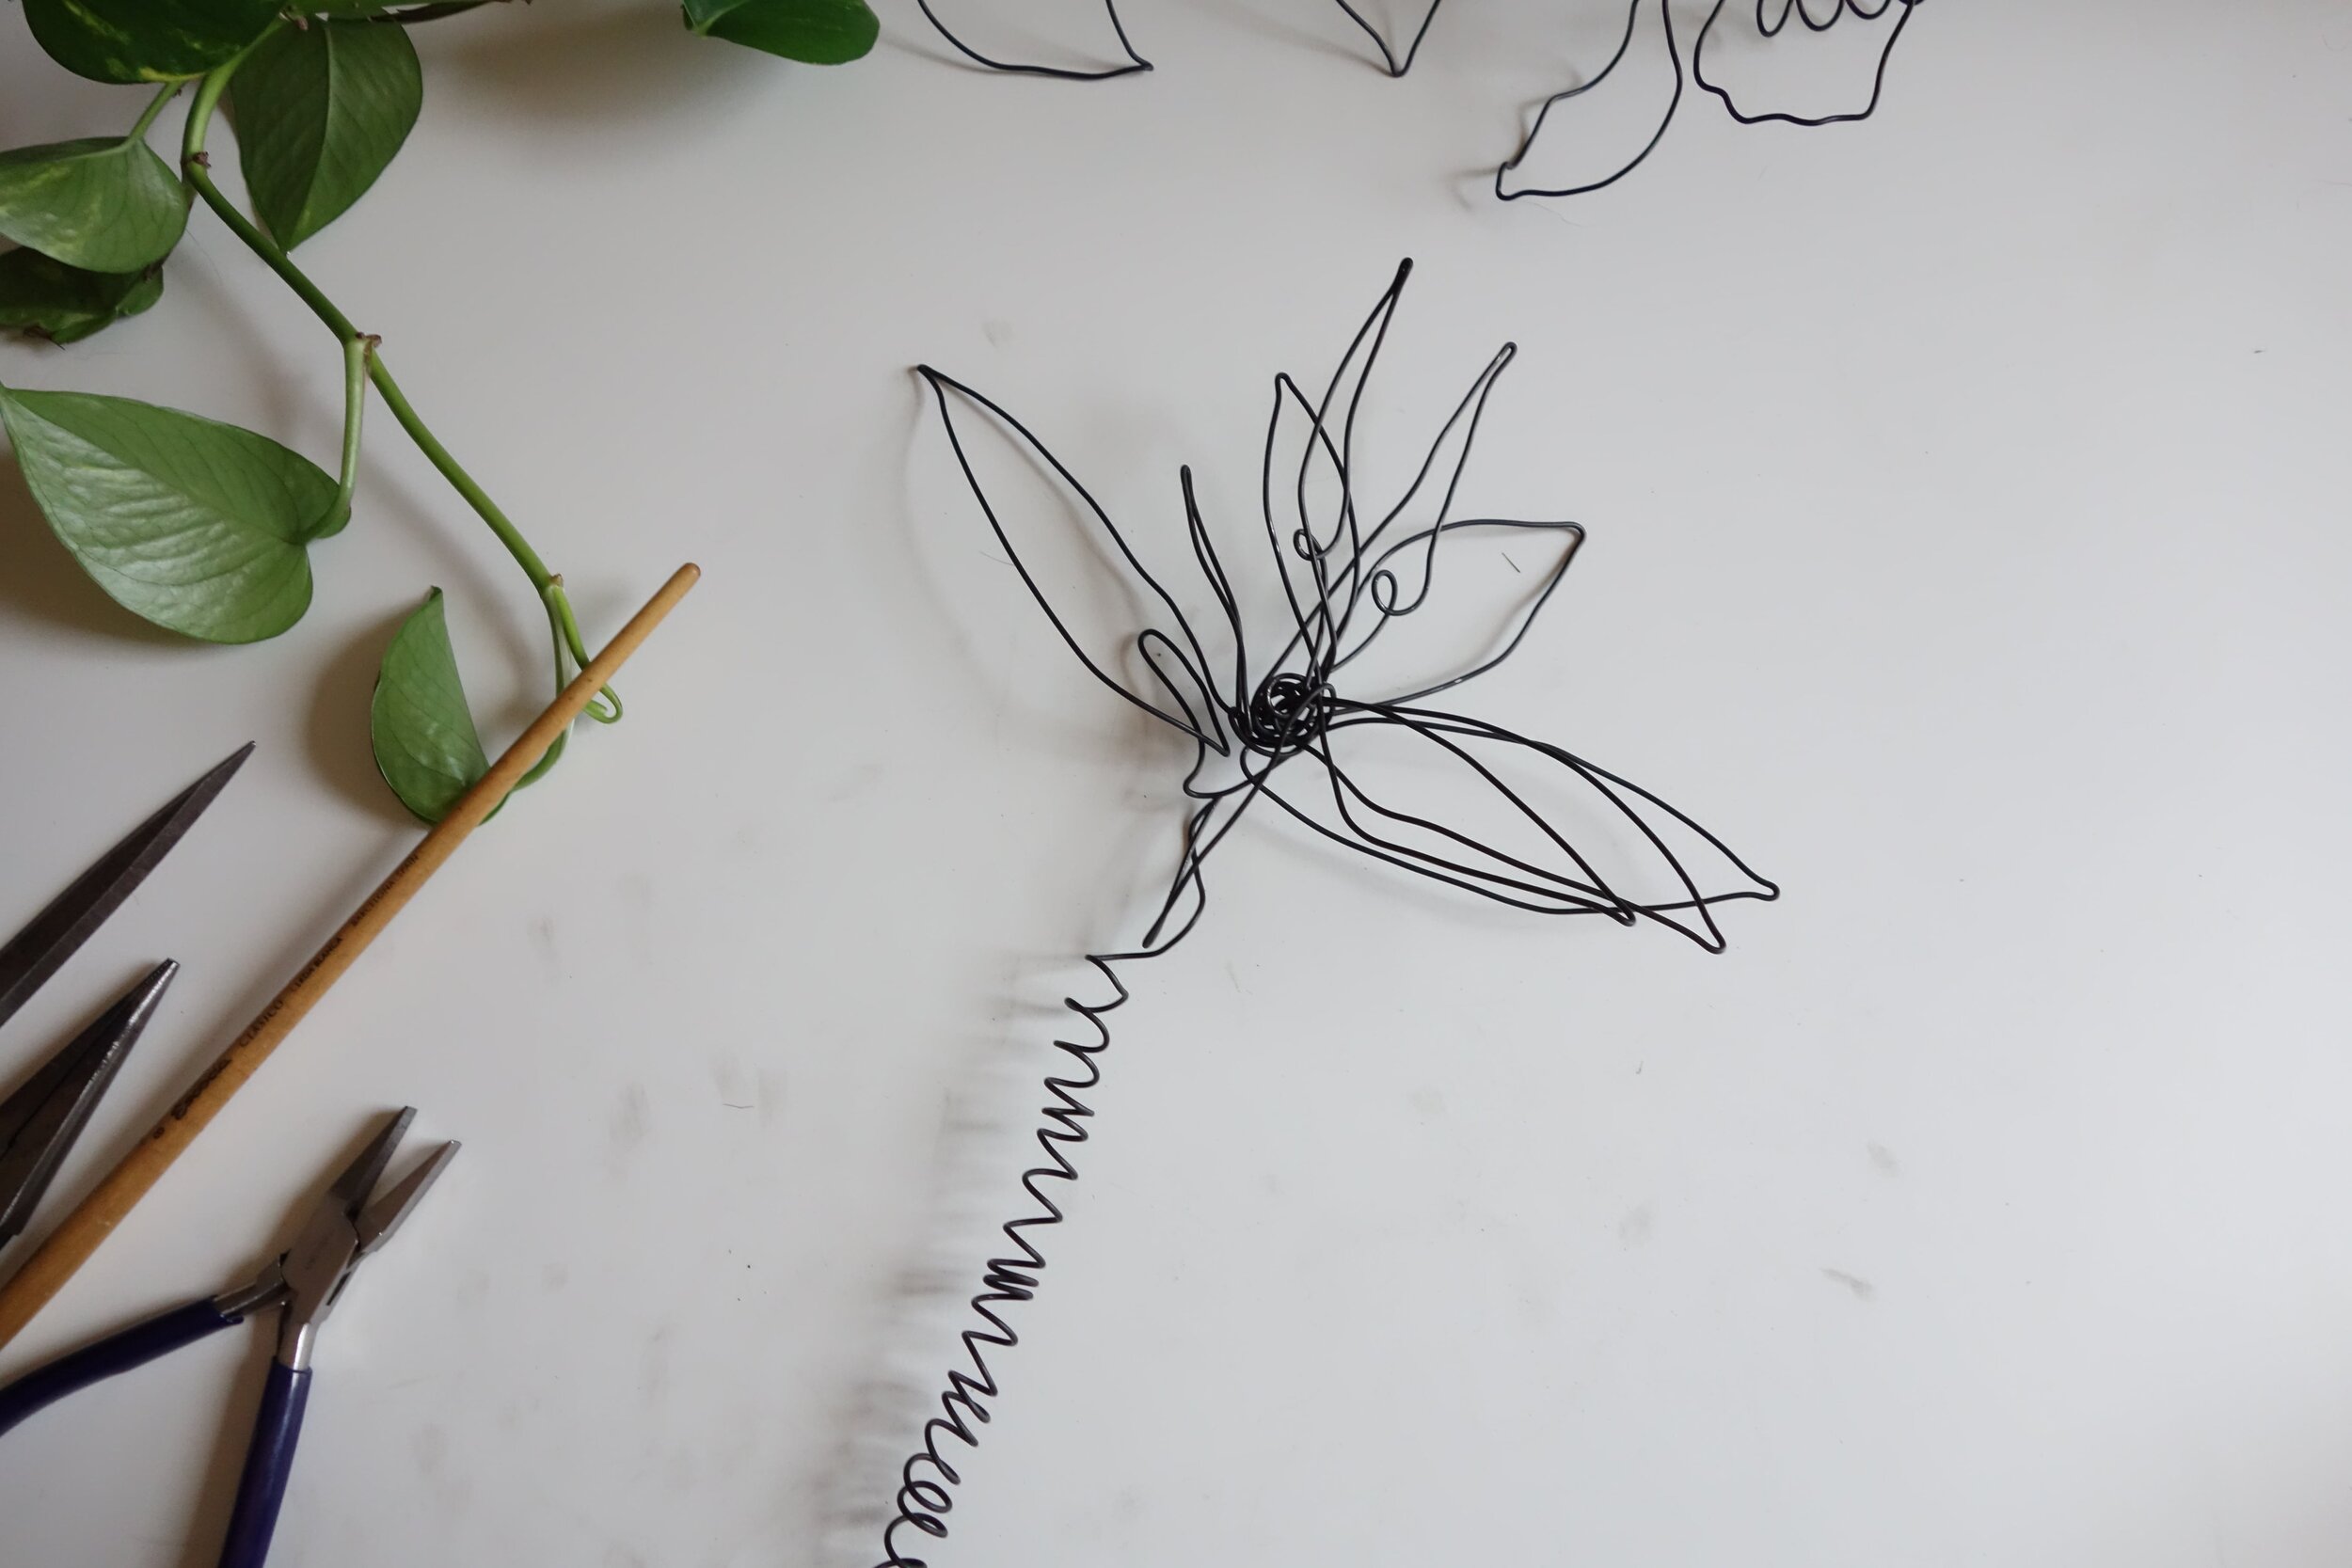
STEP FIVE: Create Your Flower Stem
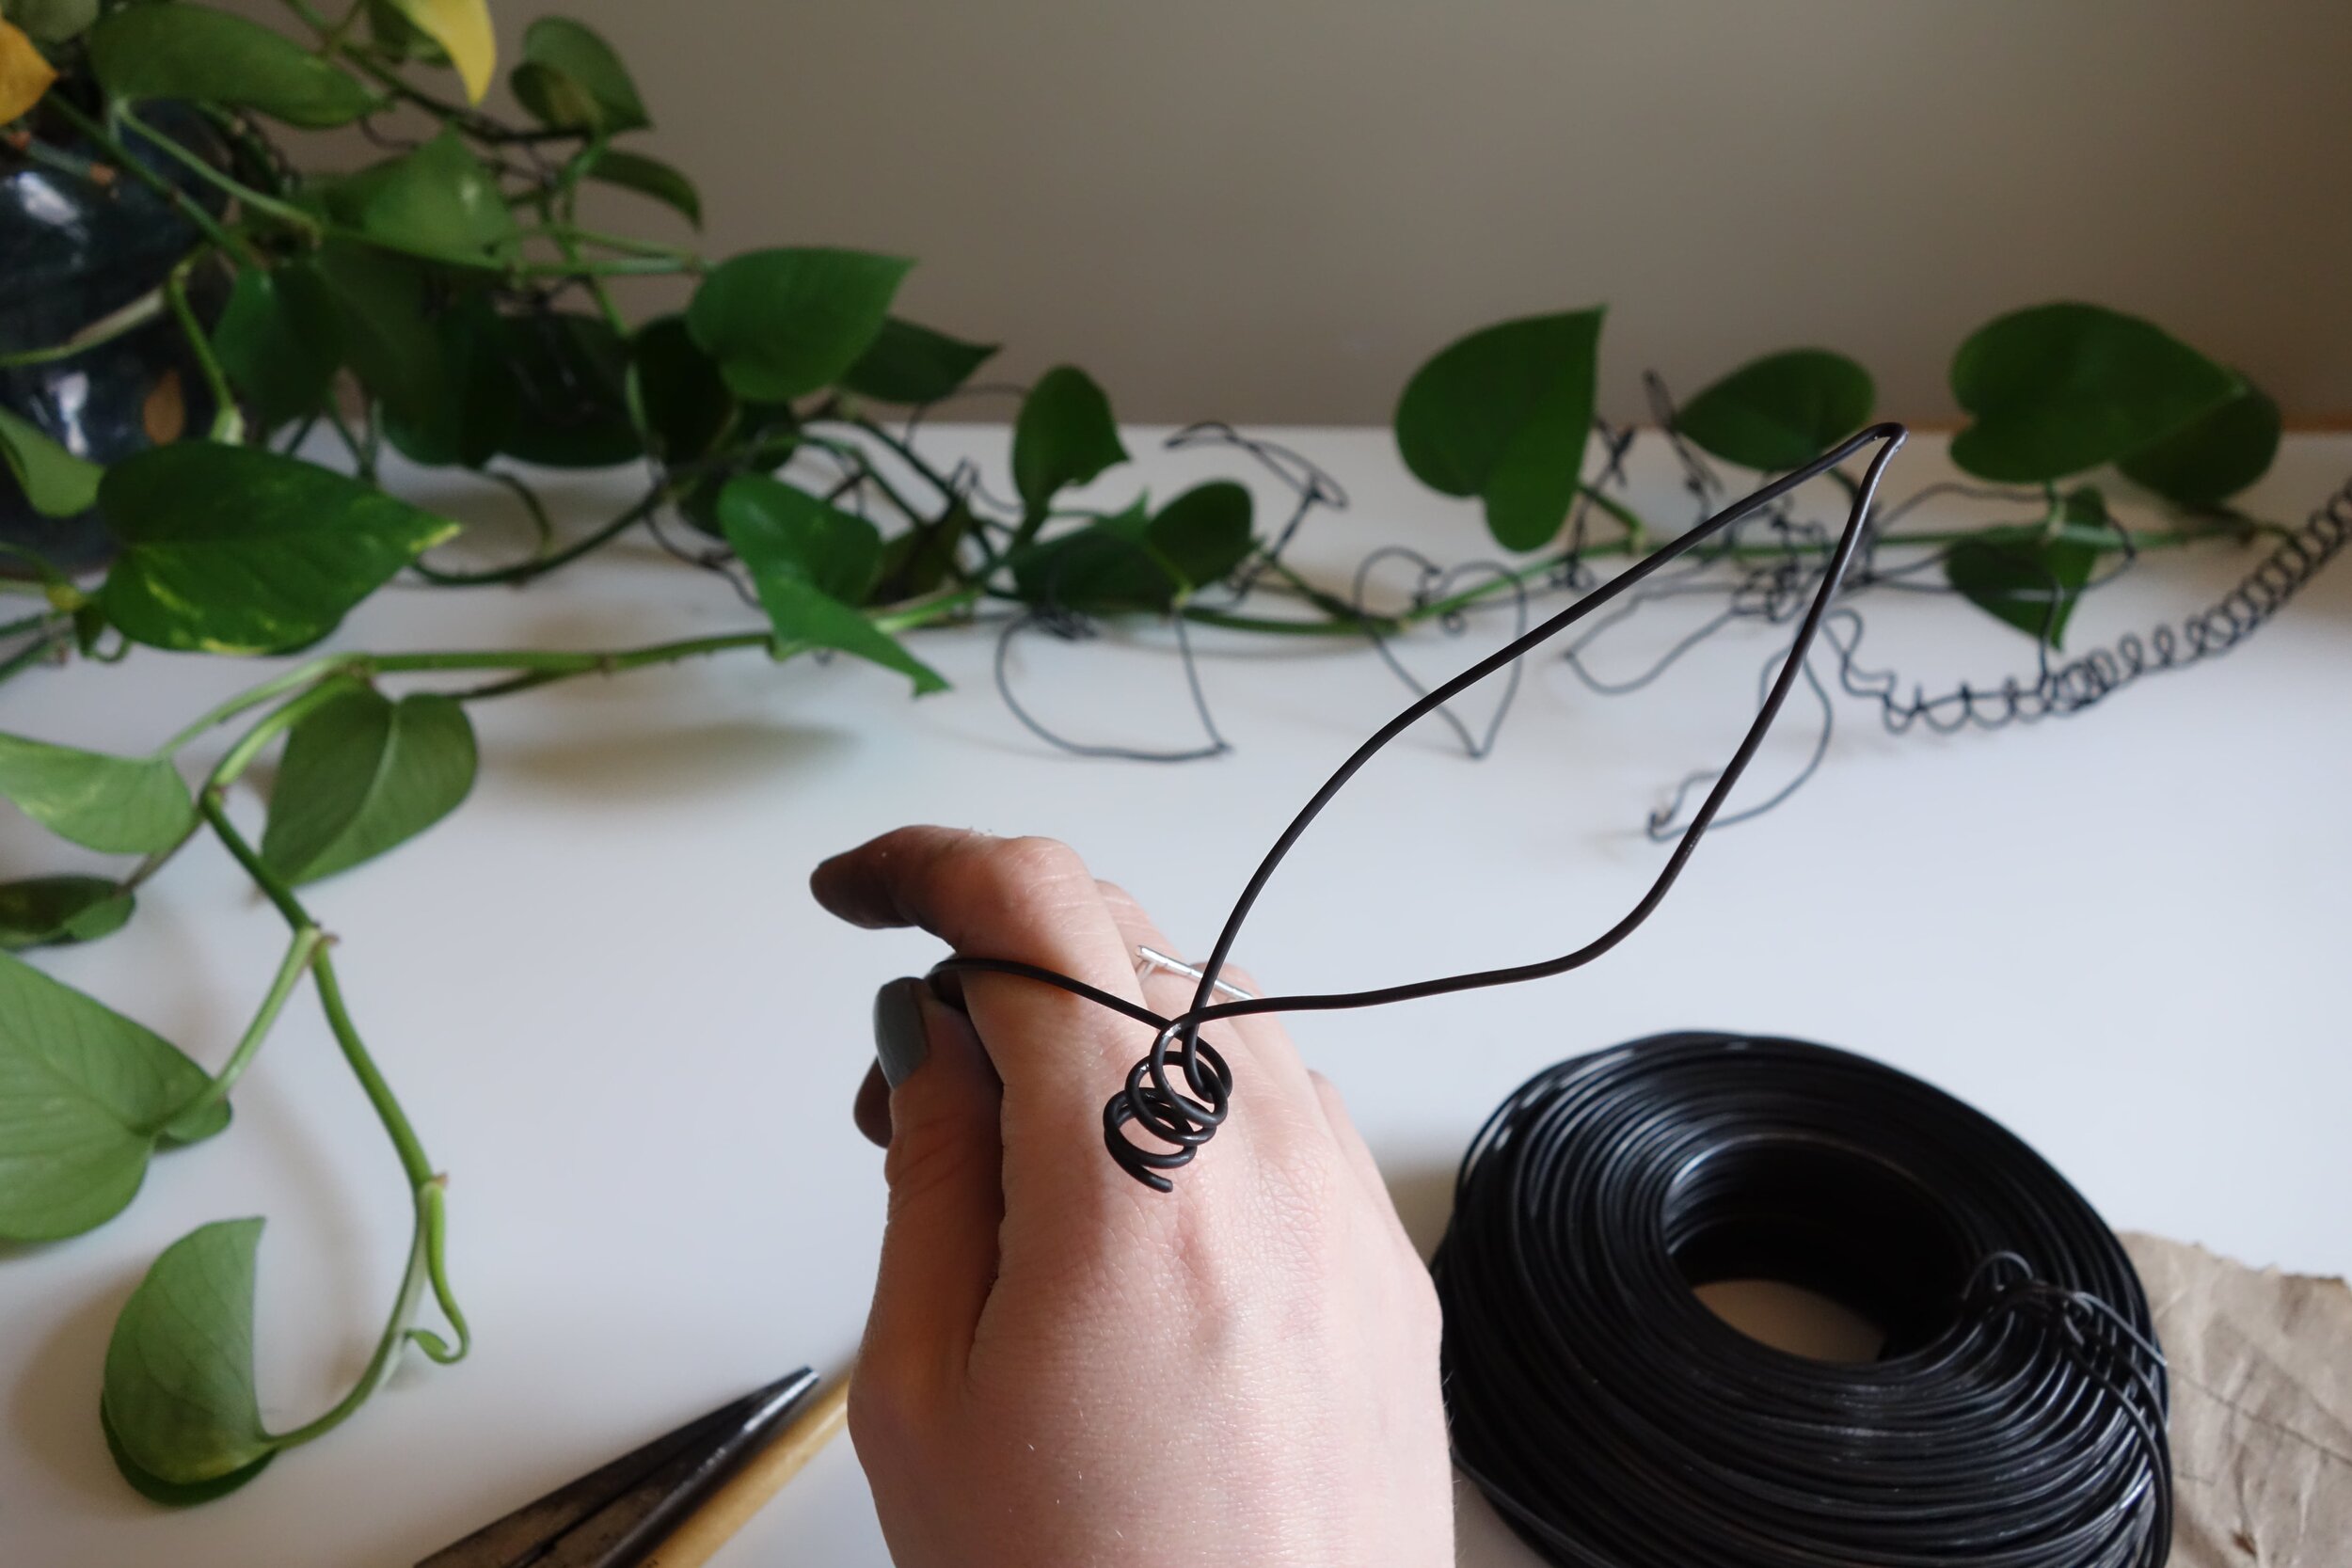
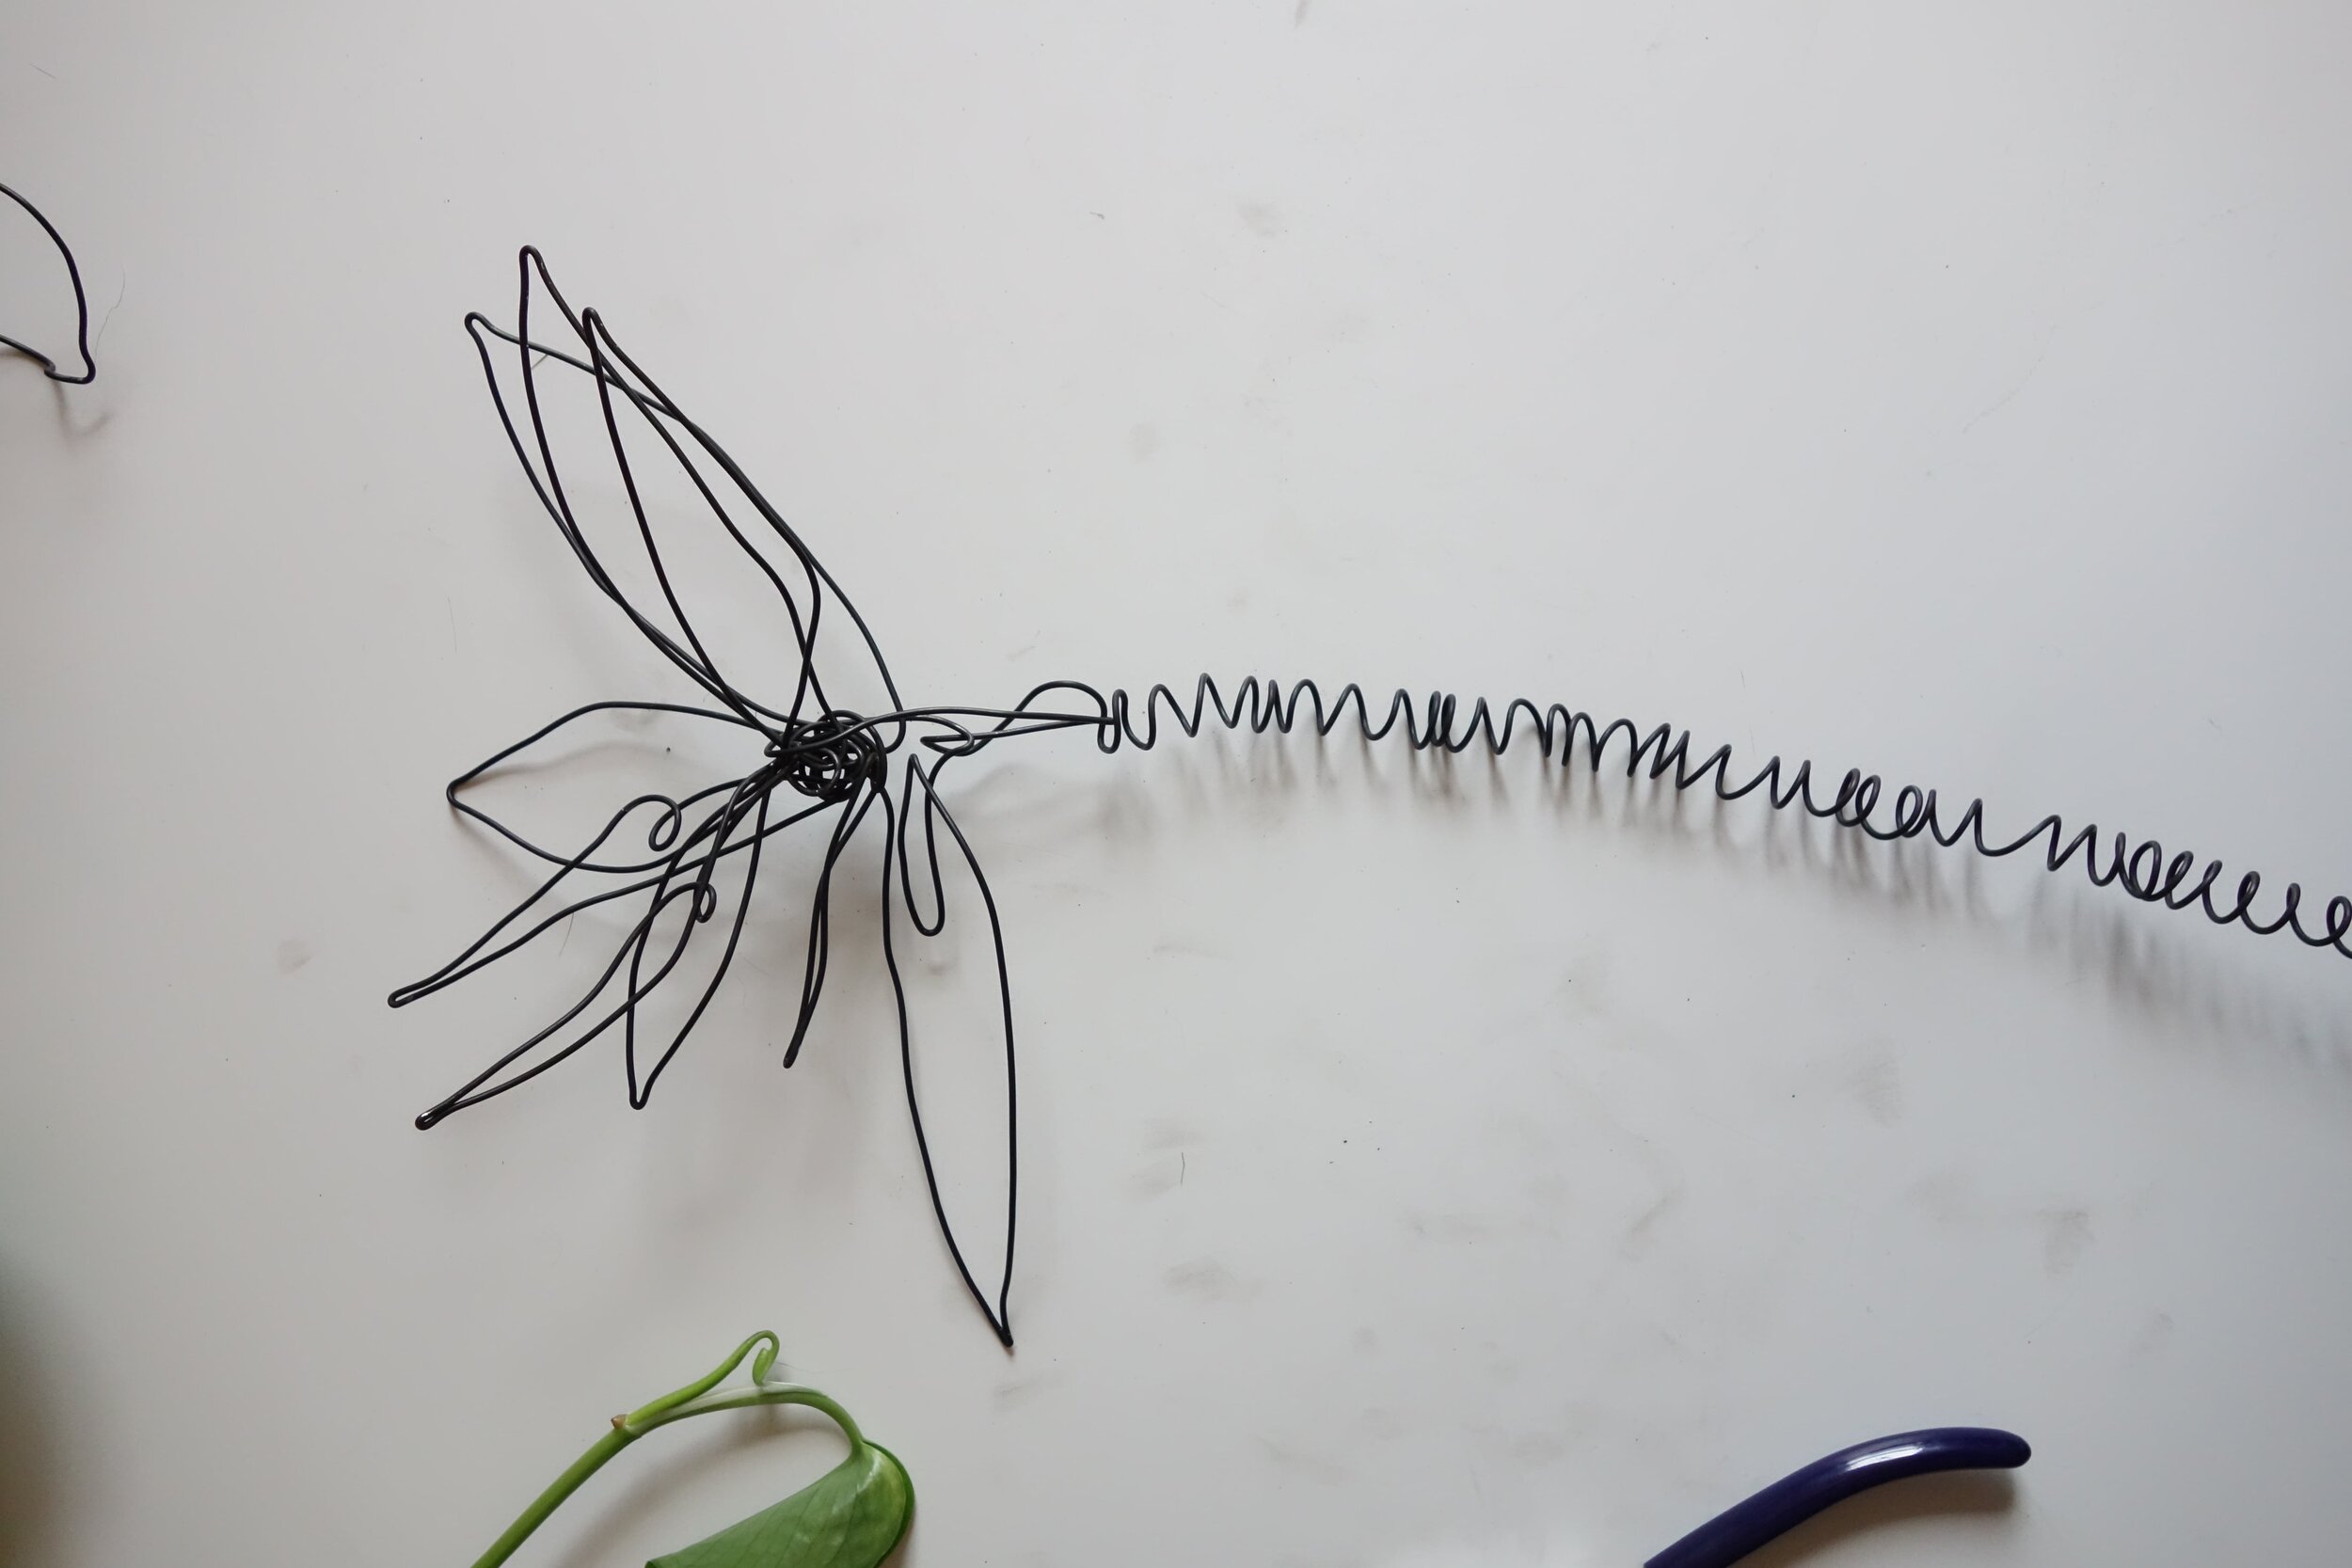
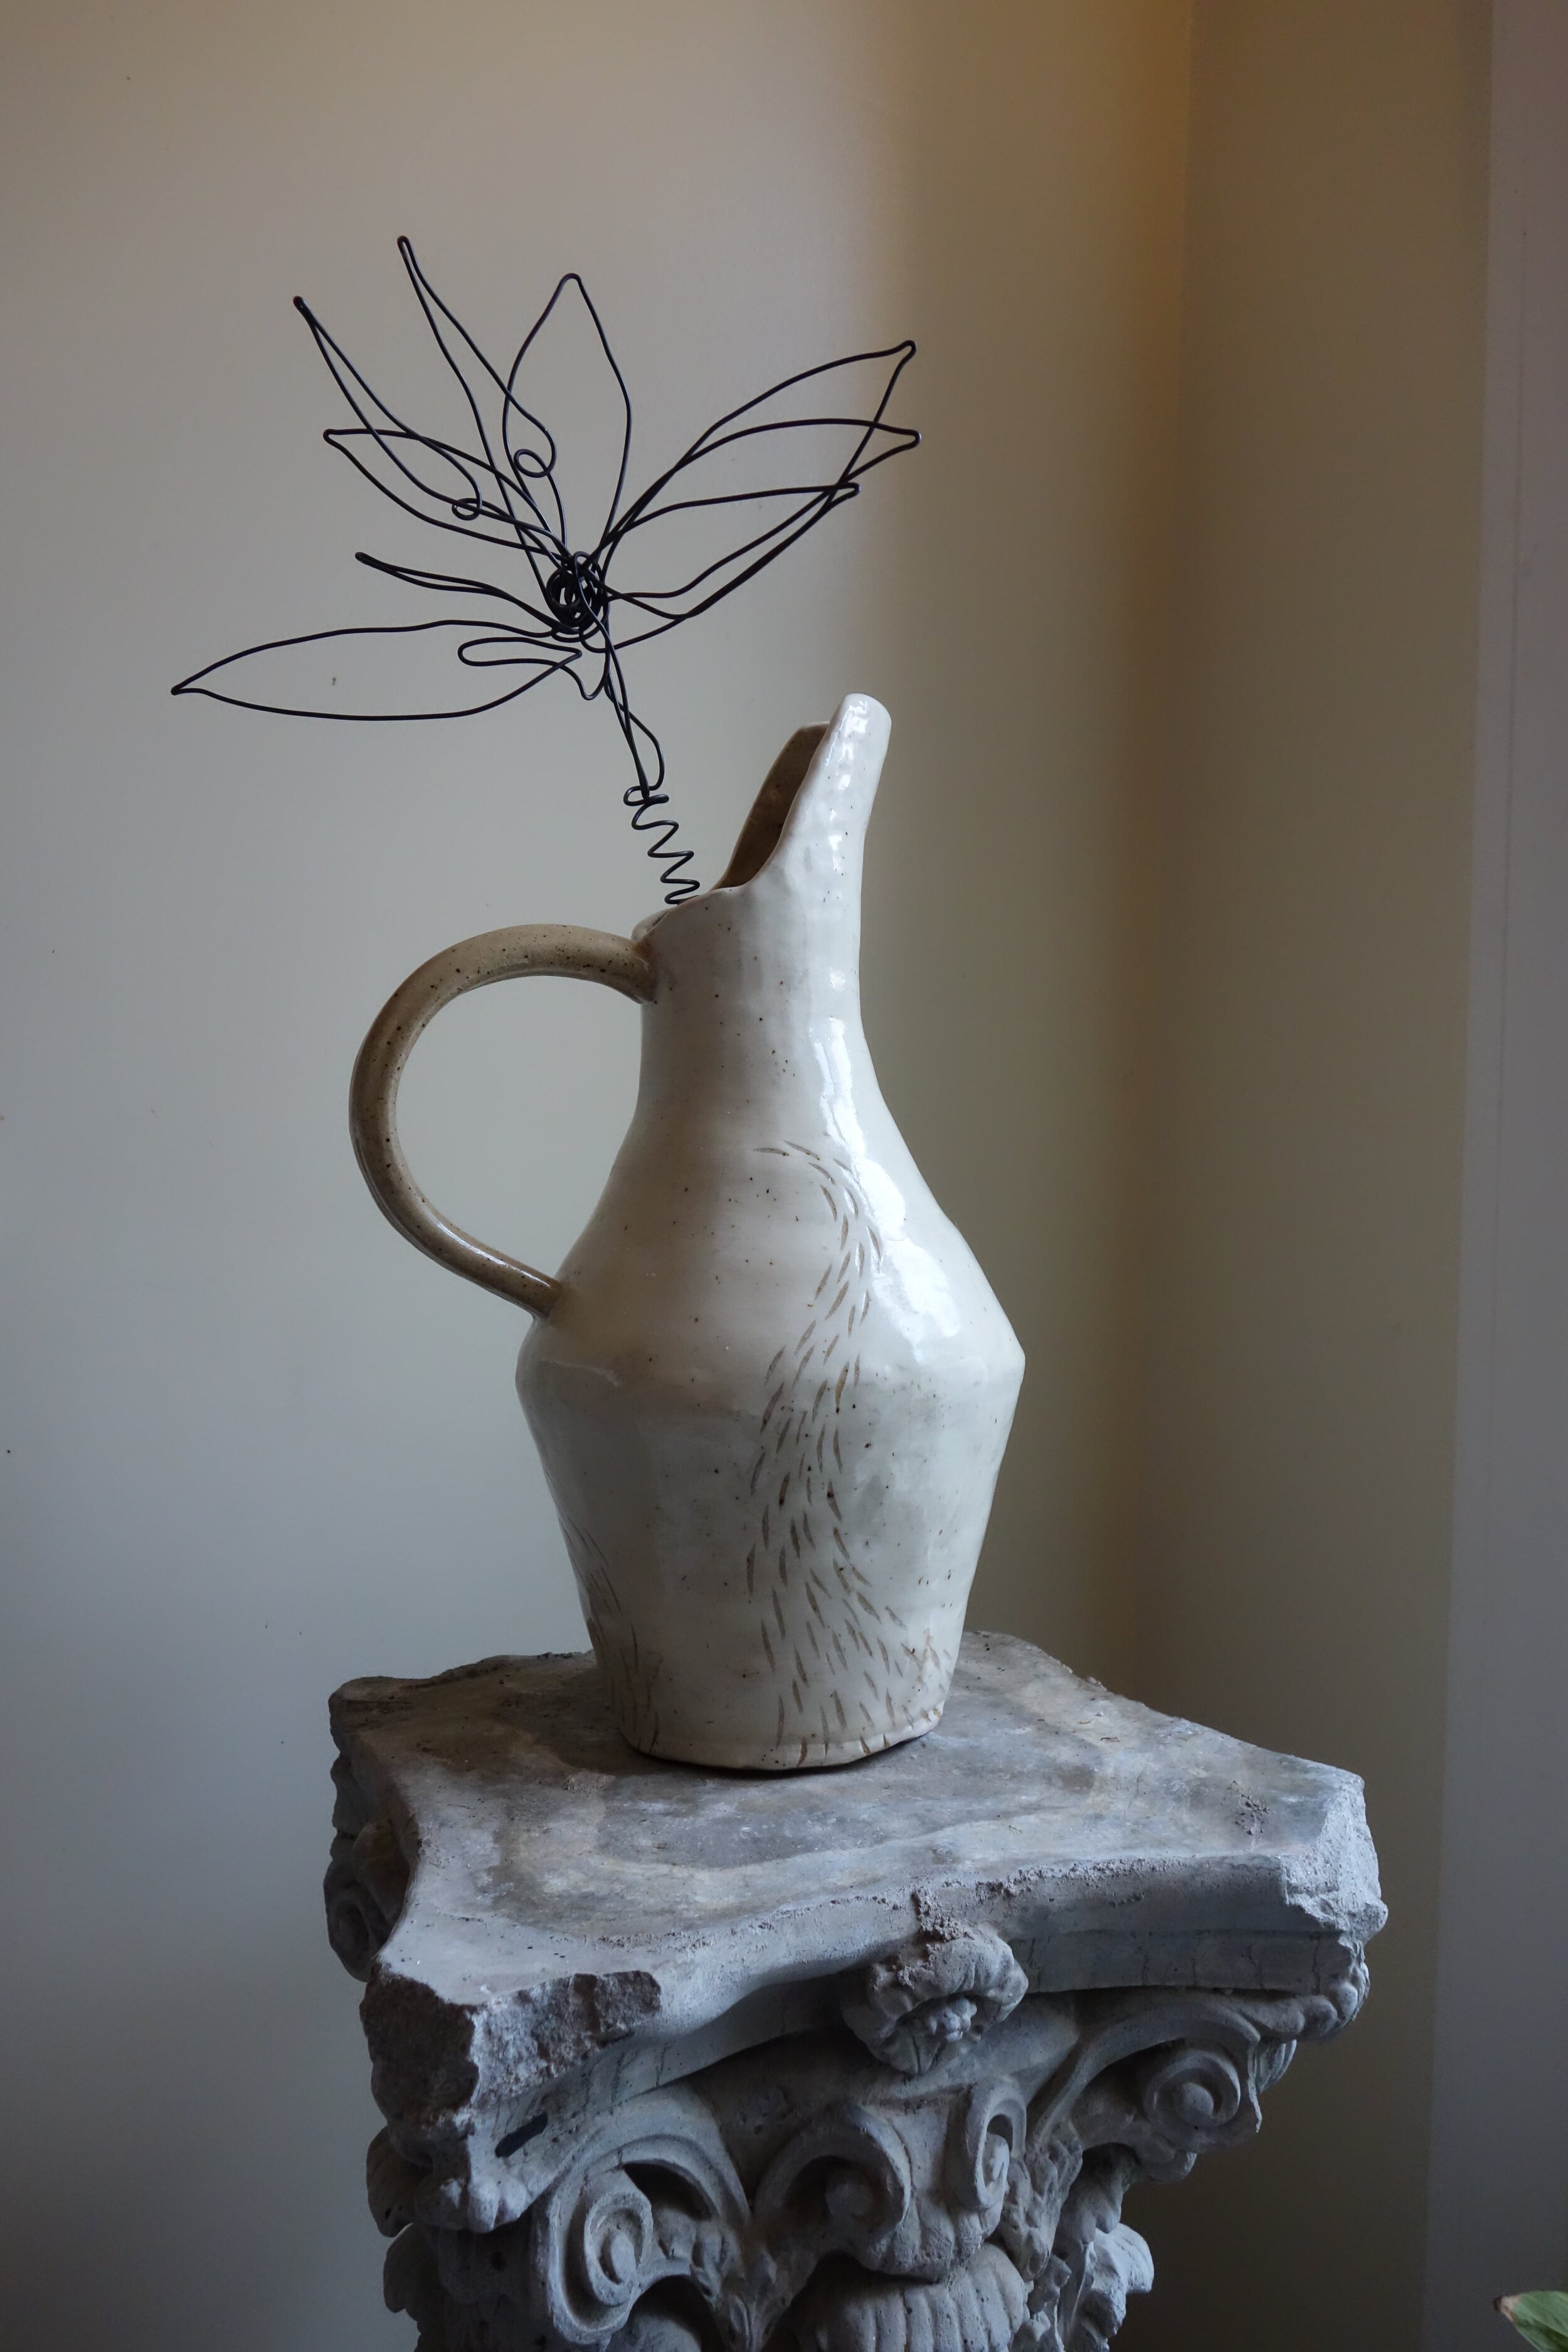
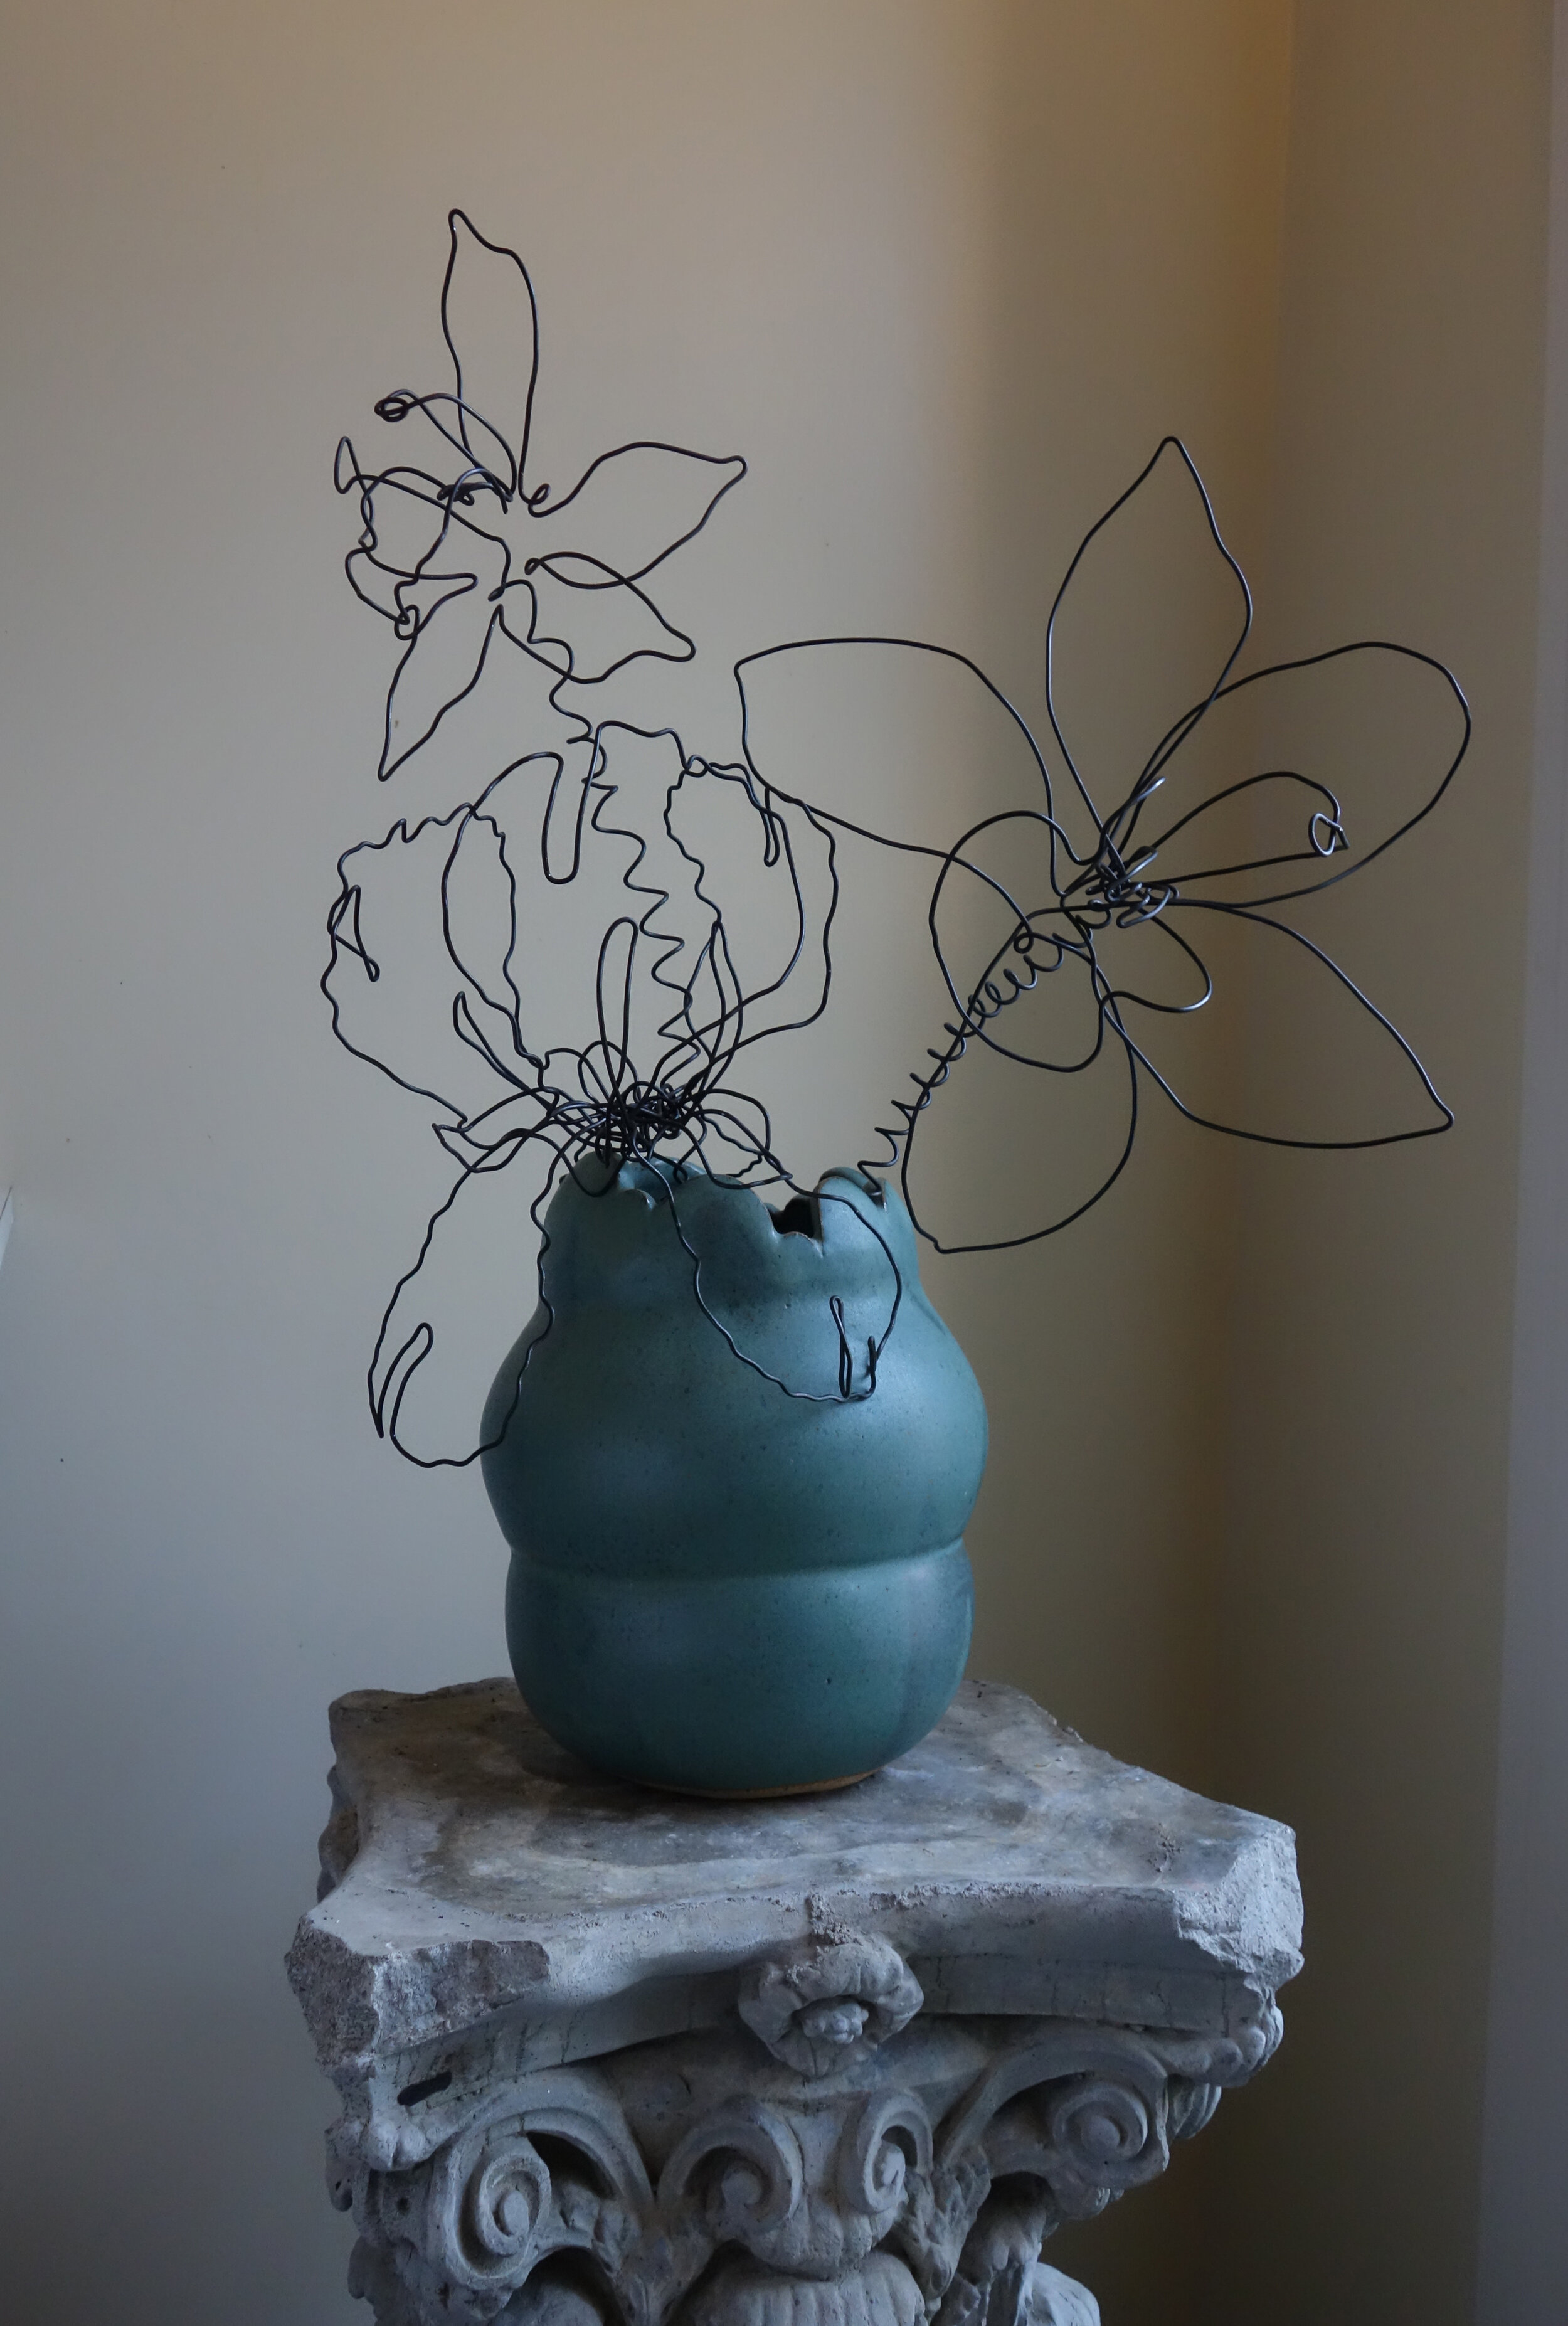
Once you’ve finished with the center and petals, it’s time to create the stem. Leaving your wire connected to the spool, pull out a good length — about 12” — and wrap it around your dowel or paintbrush like a corkscrew starting close to the flower base. Check the stem length against your vase and give yourself a little extra to be safe before cutting the wire. This spiral shape gives strength to support the bloom without doubling back the wire.
Bend the stem a little to give your flower more dynamic movement and place it in your vase! Trim if needed.
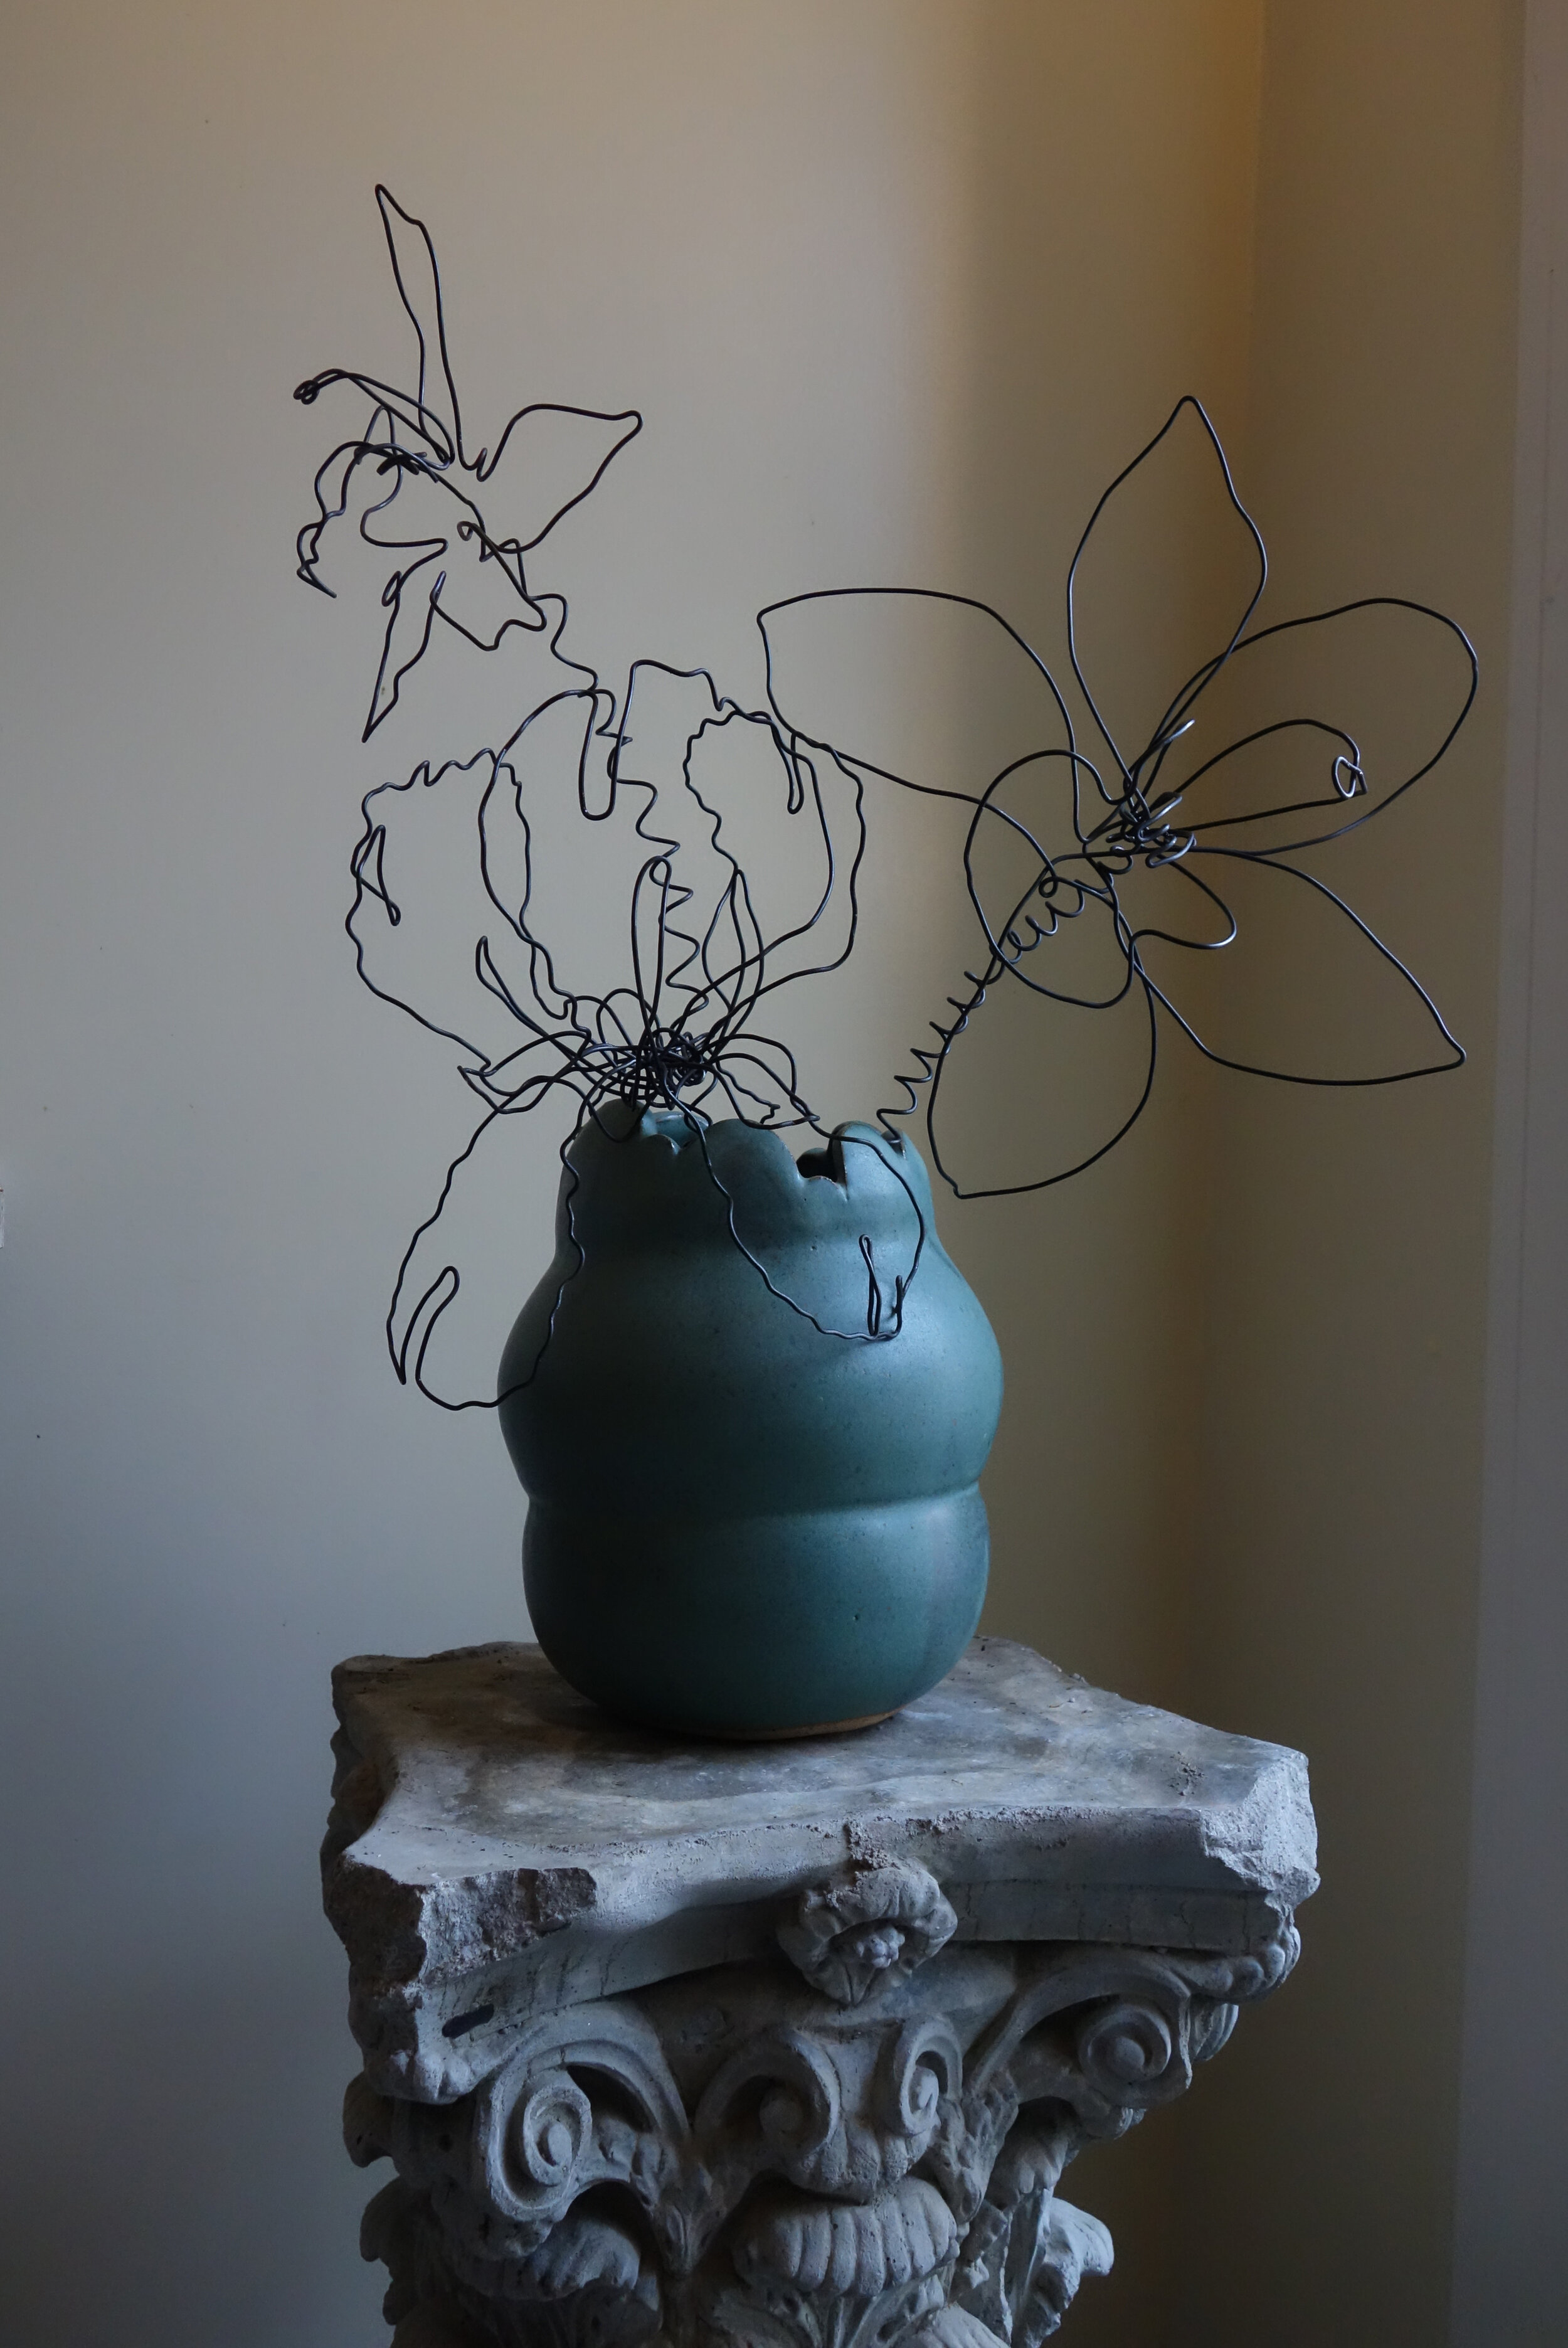
STEP SIX: Repeat for Multiple Flowers
Make Multiple Flowers for an Arrangement or Bouquet
Repeat the steps above to make multiple flowers that will create a small bouquet or arrangement.
A Single Flower Creates a Simple Statement
If you’re looking for a simple statement, just stop at one flower! Make sure that your vase won’t overwhelm the single stem. Sometimes, less is more!
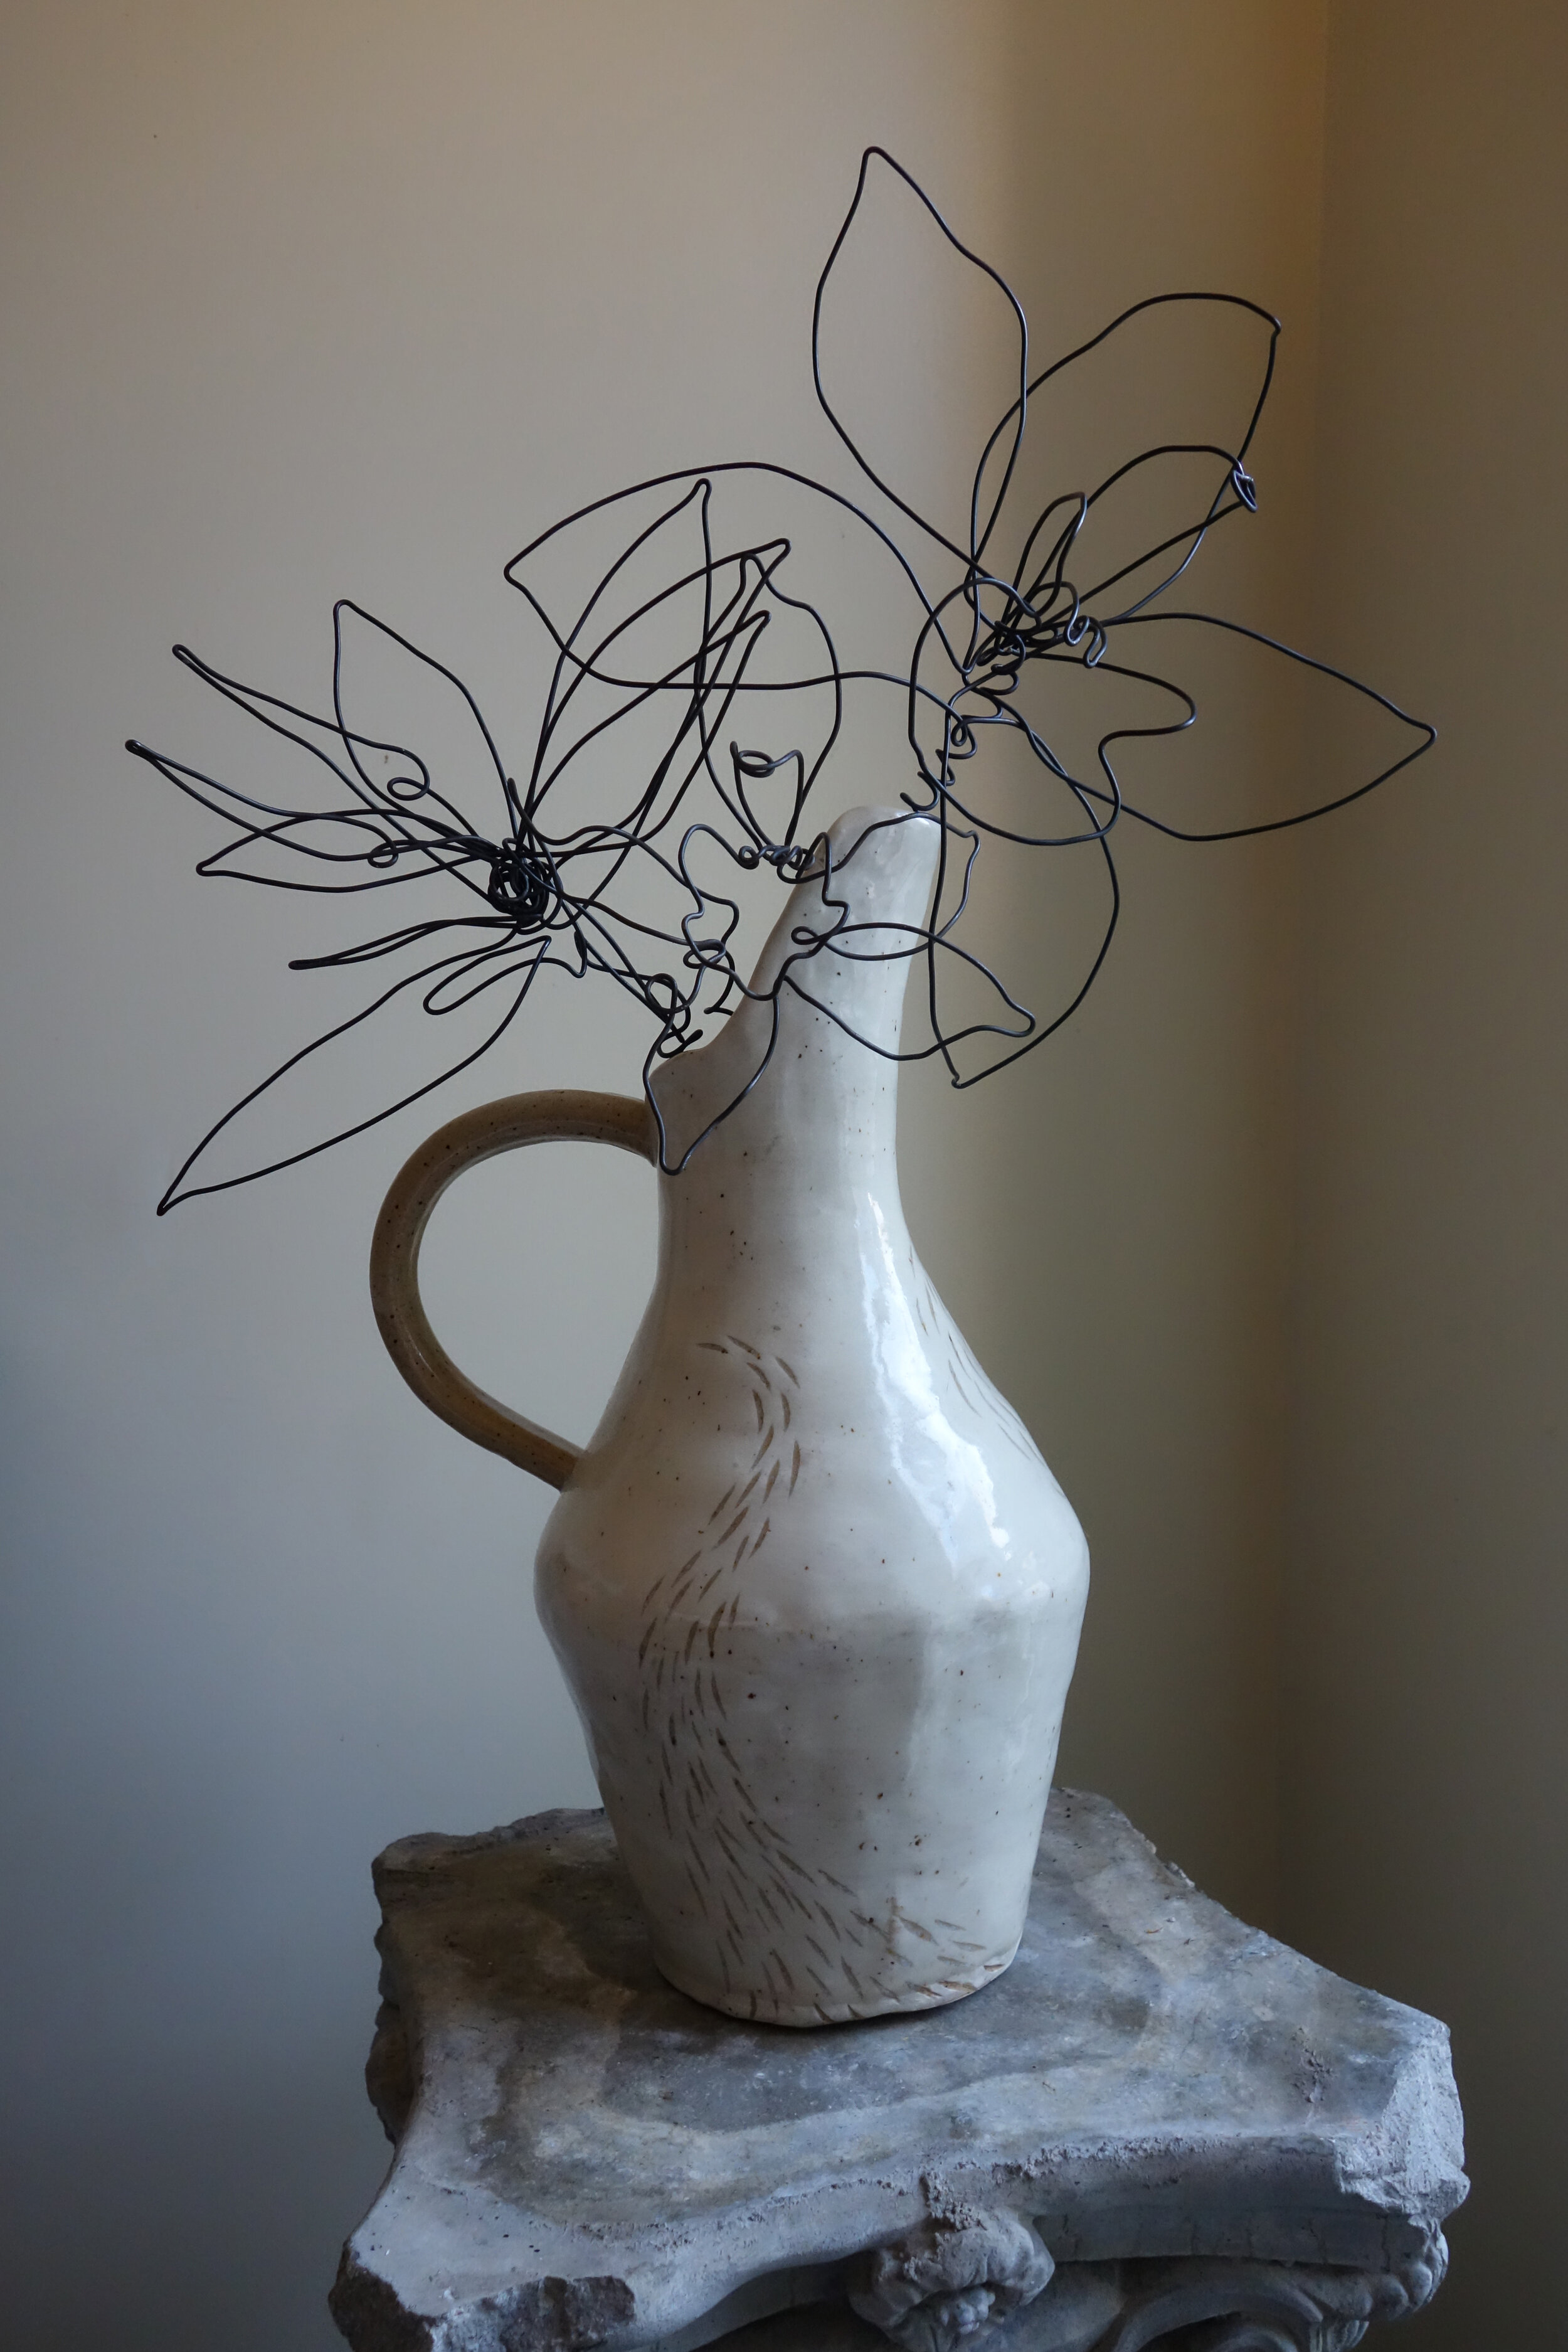
STEP SEVEN: Arrange Your Flowers and Admire Your Work!
Arrange Your Bouquet
Time to arrange your flowers! Try three flowers with slightly different sizes for a cohesive yet dynamic look. And of course, don’t forget to admire your work!
Whether you’re craving for a hands-on activity to de-stress or looking for some new décor to spruce up your space, DIY Wire Flowers will surely boost your mood and inspire the artist in you! Not only do wire flowers make unique home décor, but they can also serve as the perfect heartfelt gift. For more DIY projects and overall inspiration, head to our Instagram! If you’re looking to throw an event – whether it’s a huge birthday bash or intimate dinner, reach out to us!